Category: Customization

Learn the basics on how to customize your app

  • Things you can do in your page to differentiate from your app

    When talking about building apps using a single codebase, It’s not merely about maintaining the website as-is and calling it an app; rather, it’s a strategic approach that empowers clients to utilize the same resources and development team for both platforms.

    ✅ one of the strong points in vendrux apps is the possibility to have the same codebase for both your app and website.

    Defining the Single Codebase Approach

    At its core, the single codebase approach signifies the ability to take advantage of development efforts by reusing existing resources for both website and app creation.  This sounds like a lot of work beforehand, but when comparing this to what creating a native app from scratch and having to deal with different developer teams/languages, this is a really good option for leveraging your app.

    Strategies for differentiation used by our clients

    1. Creating Dedicated App Pages: While it may seem labor-intensive, the process of developing new pages specifically tailored for the app can often be simplified.This can be accomplished creating app-exclusive pages/urls, for example, having: yourwebsite.com , the app page would be yourwebsite.com/app . Some clients opt to have a different subdomain for it like: app.yourwebsite.com.
    2. Dynamic Content Rendering: Leveraging the capabilities of dynamic platforms such as WordPress, Shopify, or JavaScript frameworks, this is a versatile solution for displaying content dynamically based on the platform.An approach some clients use for this is detecting the user’s user-agent/platform (Vendrux’s platform uses a special user-agent name called ‘’canvas’’), and based on that, rendering different content into the website.
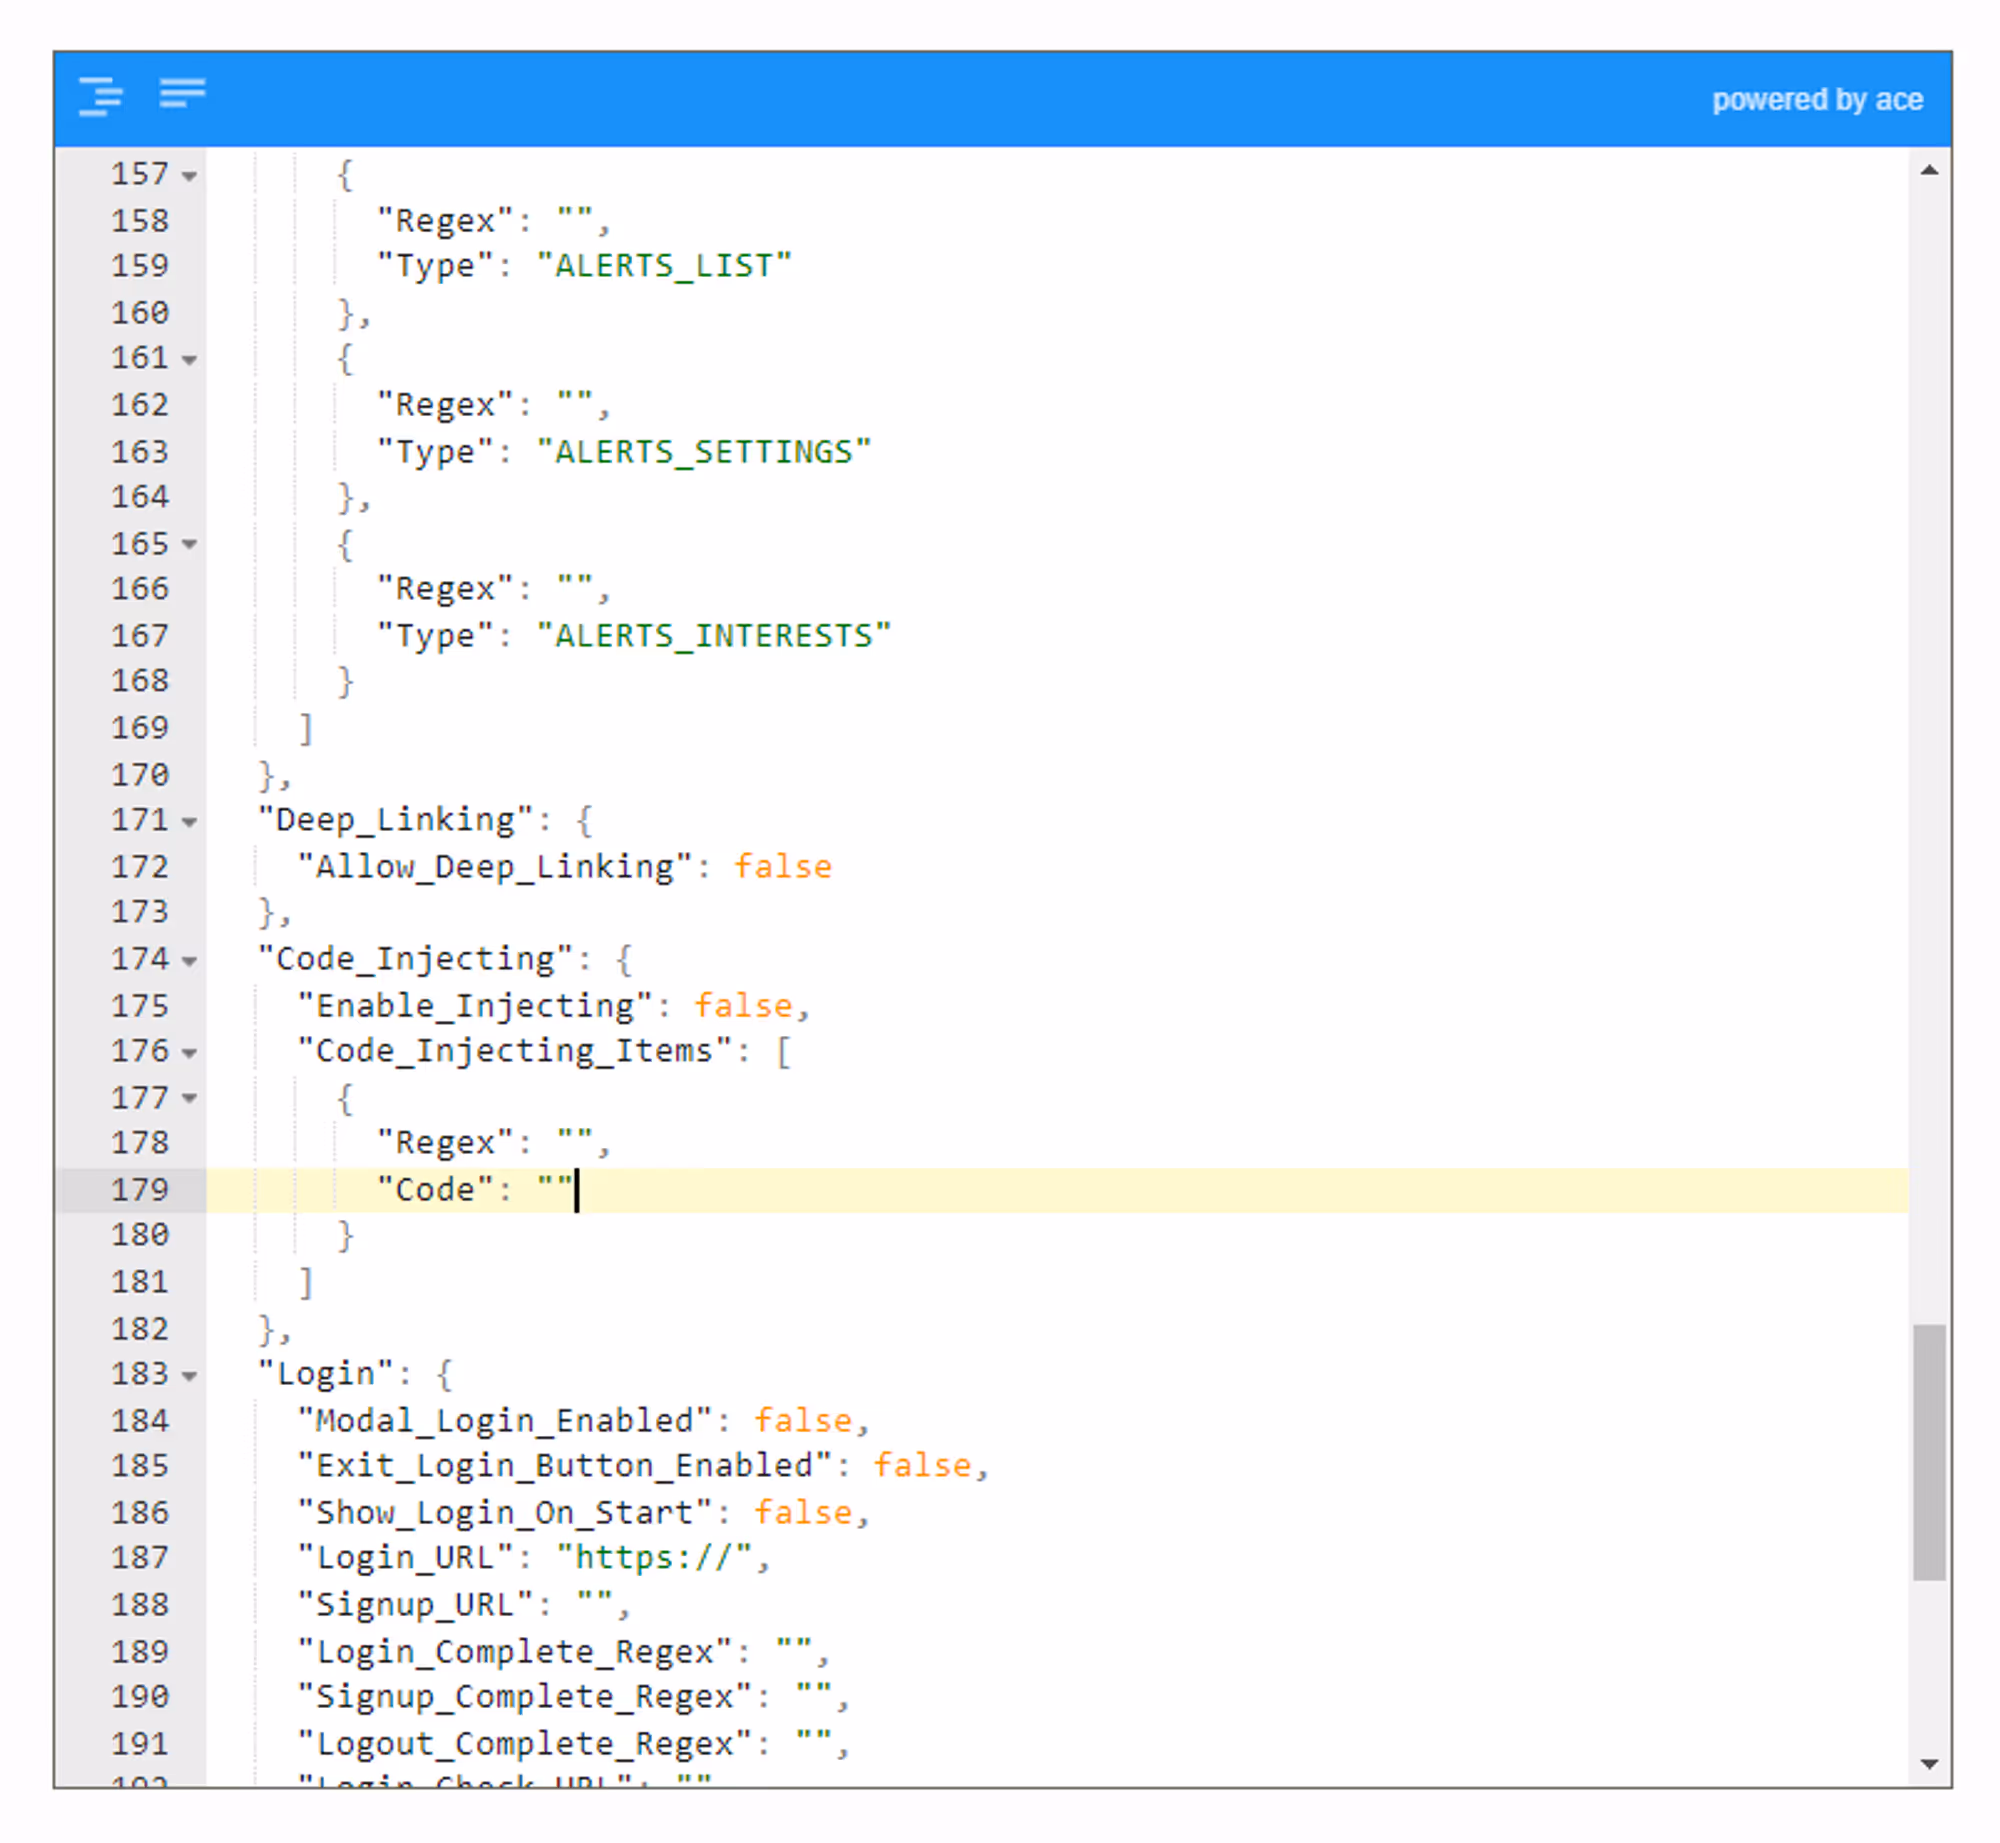
    3. Selective Element Targeting: Assigning unique classes to elements and selectively targeting them within our platform or usign our CSS Injector plugin  into inject styles based on certain conditions
    4. Utilizing Style Injectors: We offer two ways to inject styles into your site to modify its appearance within the app.
      1. Inserting styles through our Canvas platform → This is a good way to insert styles in a non-invasive way, useful for cases where you dont want to mess with your site code
      2. Using our CSS Injector plugin  → With this tool you can insert styles into your site based on conditions such as pages where the code should or not be applied (with regex rules) or based on user platform using the methods provided in the library

    Hiding/showing sections

    To hide specific sections in your site, we inject CSS into the app directly or using our CSS Injector plugin for dynamically doing it client-side.

    An easy and fast way to do this, is adding classes to elements in your site and then target them with css, our suggested ClassNames would be:

    .ml-app-exclusive → These are elements that should be displayed in the app only

    .ml-app-hide → These are elements that should be hidden in the app

    ❓ The Class Names could be named whatever you want, and then the code should be adapted to those classnames

    Here is an example on how to implement this classes using our  CSS Injector plugin

    html>
    head>head>
    body>
    	
    	div class="ml-app-exclusive">
    		THIS IS HIDDEN IN THE BROWSER, BUT VISIBLE IN APP
    	div>
    	div class=".ml-app-hide">
    		THIS IS HIDDEN IN THE APP, BUT VISIBLE IN BROWSER
    	div>


    script src="https://cdn.jsdelivr.net/npm/@vendrux/ml-css-injector@latest/dist/ml-css-injector.min.js">script>
    script>
    
    // deviceData is a dynamic way to check the user's device
    
        if(!deviceData.isCanvas){
    	    // any classes that should apply if it's NOT the app, would be here
    	    addStyle({css: `.ml-app-exclusive{display: none !important}`});
        } else{
    	    // any classes that should apply to the app, would be here
    	    addStyle({css: `.ml-app-exclusive{display: block !important}`});
    	    addStyle({css: `.ml-app-hide{display: none !important}`});
    	    addStyle({css: `footer{display: none !important}`}); 
        }
    
      script>
      body>
      html>

  • Optimize Your Website to Work Like an App

    To create a seamless app experience for your users, it’s important to optimize your website for the mobile environment. In this guide, we’ll walk you through simple adjustments that will make your website function and feel more like a native app when viewed inside the Vendrux app.

    By applying these optimizations, you can ensure smoother navigation, faster loading times, and a cleaner user interface—all while maintaining full control over your website’s design and content.

    IMPORTANT! Keep in mind that the code snippets provided below are examples, it is very likely that you will need to customize them to work with your website.

    Creating a Fixed Header for Easier Navigation

    One of the key features of many mobile apps is a fixed header or navigation bar that stays in place as users scroll. This makes it easier for users to access important links or menu items without needing to scroll back up to the top.

    Here’s how you can make your header fixed:

    CSS + Javascript Example:

    	// Check the user agent for the canvas string
      	if (navigator.userAgent.toLowerCase().includes('canvas')) {
        	const style = document.createElement('style');
        	style.textContent = `
          		header {
            		position: fixed;
            		top: 0;
            		z-index: 9999;
          		}
        	`;
        	document.head.appendChild(style);
      	}
    

    This keeps your navigation always visible, improving user accessibility.

    Optimizing Image Sizes and Media for Mobile

    Large images and unoptimized media can slow down your website's load time, which is especially noticeable in mobile apps. It’s crucial to ensure that your images are optimized for mobile users by using appropriate file sizes, formats, and resolutions.

    To optimize your media:

    • Use responsive images: Add the srcset attribute to your tags to serve different image sizes based on the device screen size.
    • Compress images: Tools like TinyPNG or ImageOptim can significantly reduce file sizes without sacrificing quality.
    • Lazy-load media: Defer loading images and videos until they come into view, improving initial page load time.

    These optimizations will make your website load faster inside the app, providing a smoother experience for users.

    Removing Unnecessary Pop-ups and Overlays

    Pop-ups, modals, and overlays can take over too much screen space on mobile devices, making it harder for users to navigate the app. It’s a good practice to either remove these elements or simplify them for the mobile app environment.

    Here’s how to hide pop-ups and overlays when viewed in the app:

    CSS + Javascript Example:

    	if (navigator.userAgent.toLowerCase().includes('canvas')) {
    		const style = document.createElement('style');
    		style.textContent = `
    			.popup, .overlay {
    			display: none !important;
    		}
    		`;
     		document.head.appendChild(style);
    	}
    

    This will ensure a cleaner, less disruptive interface inside the app, while still allowing pop-ups and overlays to work on the website when accessed via desktop or browser.

    Removing the Footer

    Mobile app users generally expect minimal distractions when using an app. Removing the website footer inside the app can help reduce clutter and keep the focus on the core content.

    Here’s how to hide the footer when your website is viewed in the Canvas app:

    CSS + Javascript Example:

      if (navigator.userAgent.toLowerCase().includes('canvas')) {
      	const style = document.createElement('style');
      	style.textContent = `
      		footer {
      			display: none !important;
      		}
      	`;
      	document.head.appendChild(style);
      }
    

    This reduces unnecessary scrolling and declutters the interface.

    Making Buttons Easier to Click

    On mobile devices, buttons that are too small or too close together can be difficult to tap. It’s important to optimize button sizes and spacing to enhance usability in the app.

    To make buttons easier to click:

    • Increase button size: Ensure buttons are large enough to be easily tapped on small screens.
    • Add padding: Increase spacing between clickable elements to prevent accidental taps.

    CSS + Javascript Example:

    	if (navigator.userAgent.toLowerCase().includes('canvas')) {
    		const style = document.createElement('style');
    		style.textContent = `
    			button {
    			padding: 15px 20px;
    			font-size: 18px;
    		}
    		`;
    		document.head.appendChild(style);
    	}
    

    This will ensure buttons are more user-friendly inside the app, improving overall usability.

    By applying these simple adjustments, you’ll be able to create a more app-like experience for your users. Each optimization makes the app feel more responsive and tailored to mobile, while still being easy to manage on your end.

    For more detailed guidance on customizing your app and optimizing your website’s performance in the app, be sure to check out our other guides:

    These resources will help you fine-tune the app experience for your users and make the most of your mobile presence.

  • Hiding Elements in Your App

    When your website is displayed in a mobile app, certain elements that are useful on a desktop site—like footers or large widgets—might take up valuable screen space in the app. By hiding these elements, you can create a cleaner, more focused experience. This guide shows you how to identify elements to hide, use CSS or PHP to do so, and avoid common issues like flickering.

    Identifying Which Elements to Hide

    Here are common elements you might want to hide in your app:

    • Footers that contain links and information suited for desktop browsing.
    • Pop-ups and overlays that can take over too much screen space.
    • Unnecessary widgets or ads that disrupt the flow.

    Using JavaScript to Inject CSS and Hide Elements

    We’ll use JavaScript to inject a tag into the header that applies the necessary CSS. This ensures the CSS is applied only when the site is viewed in the Vendrux app.

    Hiding the Footer

    JavaScript Example:

    if (navigator.userAgent.toLowerCase().includes('canvas')) {   
    	var style = document.createElement('style');   
        style.innerHTML = 'footer { display: none; }';    
        document.head.appendChild(style);
    }
    

    PHP Example:

    if (strpos(strtolower($_SERVER['HTTP_USER_AGENT']), 'canvas') !== false) {    
    	echo '';
    }

    Hiding Pop-ups and Overlays

    Pop-ups and overlays can disrupt the user experience. Use the following code to hide them in the app.

    JavaScript Example:

      if (navigator.userAgent.toLowerCase().includes('canvas')) {
          var style = document.createElement('style');    
          style.innerHTML = '.popup, .overlay { display: none; }';   
          document.head.appendChild(style);
      }
    

    PHP Example:

    if (strpos(strtolower($_SERVER['HTTP_USER_AGENT']), 'canvas') !== false) {    
    	echo '';
    }

    Avoiding Common Issues (Like Flickering)

    To prevent elements from flashing briefly before being hidden, it’s best to add the customizations directly to your website. By applying CSS early in the load process, you minimize flickering.

    Ensure the injected CSS is applied in the to avoid delays. This will stop elements from rendering before being hidden.

    Creating a Class to Hide Elements

    You can also create a reusable class that allows you to easily hide elements across your site.

    JavaScript Example:

      if (navigator.userAgent.toLowerCase().includes('canvas')) {    
          var style = document.createElement('style');    
          style.innerHTML = '.hide-in-app { display: none; }';    
          document.head.appendChild(style);
      }
    

    PHP Example:

    if (strpos(strtolower($_SERVER['HTTP_USER_AGENT']), 'canvas') !== false) {   
    	echo '';
    }

    After you define the .hide-in-app class, you can simply add class="hide-in-app" to any element in your HTML to hide it in the app.

    Conclusion

    By following these examples, you can easily hide unnecessary elements from your website when it’s viewed inside the Vendrux app. Use either JavaScript or PHP, depending on your setup, to ensure the customizations are applied only within the app.

    For more detailed guidance on customizing your app and optimizing your website’s performance in the app, be sure to check out our other guides:

    These resources will help you fine-tune the app experience for your users and make the most of your mobile presence.

  • Custom CSS | vendrux Docs

    We can add custom CSS to apps by performing a check to the user-agent.

    If the “canvas” string is included in the user-agent, it means that the content is being displayed inside the app.

    Below you can find a code snippet that will save the user agent and then check if the “Vendrux” string is present, if so it will add custom CSS to the HTML head.

    // Get the current user agent
    const isApp = navigator.userAgent.toLowerCase().indexOf('canvas') > -1;
    
    // Check if the user agent contains the canvas string
    if (isApp) {
    
      // Outputs the custom CSS in case canvas is present in the user-agent
      document.head.innerHTML += '';
    
    }
    

    If you are using PHP you can use the following piece of code:

    $u_agent = $_SERVER['HTTP_USER_AGENT'];
    if (strlen(strstr($u_agent, "canvas")) > 0) {
      echo "";
    }
    
  • Creating App-Specific Pages | vendrux Docs

    Creating app-specific pages is a great way to offer an exclusive experience that engages users and drives conversions. This guide will walk you through creating pages that are only visible in your app and setting up conditionals to make sure the links to these pages only show up for app users.

    Importance of Creating an Exclusive App Experience

    Offering content that is only accessible in your app encourages users to download and engage with your mobile app. It can enhance user experience, build loyalty, and increase conversions. By tailoring the experience specifically for app users, you can keep them engaged with features or content that’s not available on your website.

    Benefits of App-Specific Content:

    • Increased Engagement: Exclusive in-app content encourages users to spend more time in your app.
    • Higher Conversion Rates: Offering app-only promotions or features can motivate users to take action.
    • Improved User Experience: Tailoring content for app users can make your app more valuable than just browsing your website.

    Creating Pages for Your App

    First, you’ll need to create the pages that will only be accessible within the app. These pages should exist on your website but be hidden from your website’s main navigation to ensure they aren’t visible to regular visitors.

    Here’s a simple approach:

    1. Create a new page in your website’s CMS.
    2. Add any app-specific content you want—whether it’s special promotions, app features, or exclusive articles.
    3. Add the link to the newly created page to your menu using conditionals, so it only shows to app users.

    Once you’ve created the app-specific pages, it’s time to ensure they’re only accessible from within the app.

    Adding Conditional Links for App Users

    To make sure these app-specific pages only appear for users who are browsing your website within the app, you can use conditionals to hide or show links based on the user agent string. If the user agent contains “canvas”, it means the user is in the app.

    Here’s how you can implement this using JavaScript and PHP.

    JavaScript Example

    You can dynamically add a link to the app-specific page using JavaScript, which will only show up if the user is accessing the site from the app.

      if (navigator.userAgent.toLowerCase().includes('canvas')) {    
        var appLink = document.createElement('a');    
        appLink.href = '/app-specific-page';    
        appLink.innerText = 'Exclusive App Content';   
        document.body.appendChild(appLink);
      }
    

    This code checks if the user is in the app by inspecting the user agent. If they are, it creates a link to your app-specific page and adds it to the bottom of the page. You can modify the placement by appending the link to different elements on your site.

    PHP Example

    If you’re using PHP, you can add a conditional statement to check if the user is in the app before displaying the link.

    if (strpos(strtolower($_SERVER['HTTP_USER_AGENT']), 'canvas') !== false) {   
    	echo 'Exclusive App Content';
    }

    This will output the link only if the user agent contains "canvas", ensuring that regular visitors to your website don’t see it.

    Conclusion

    By creating app-specific pages and using conditionals to display links only in the app, you can offer an exclusive, engaging experience for your mobile app users. This approach not only boosts engagement but also helps differentiate your app from your website, adding value for your most dedicated users.

    For more detailed guidance on customizing your app and optimizing your website’s performance in the app, be sure to check out our other guides:

    These resources will help you fine-tune the app experience for your users and make the most of your mobile presence.

  • Code Injecting | vendrux Docs

    Code Injecting | vendrux Docs

    You can inject custom code into the apps, this is useful if you’d like to customize the design or functionality of your app without affecting the website.

    To use code injecting you will need to edit your app’s advanced configuration.

    Notion Image

    This is how the code injecting feature will be configured by default:

    "Code_Injecting": {
        "Enable_Injecting": false,
        "Code_Injecting_Items": [
          {
            "Regex": "",
            "Code": ""
          }
        ]
      },
    

    If your configuration looks different than that you might have an old version in place, feel free to replace your code injecting related code with the one above to ensure everything will work properly in your app.

    Let’s break down each parameter:

    Enable_Injecting (true/false)

    Determines if code injecting should be active or not. In order to use this feature you will need to set the value to “true”.

    Code_Injecting_Items (array)

    Each item added to the Code_Injecting_Items will allow you to inject a different piece of code into your website.

    You might want to use different items when targeting specific URLs. You might for example want to have code #1 injected on your home page only, while code #2 injected on all other pages.

    Regex (regex)

    Determines where your code will be injected.

    When a page is loaded in your app and you have the code injecting feature turned on, the app will perform a check on the URL of that page using the regex provided. If there is a match, the code will be injected.

    If you want the code to be injected into all pages you can use the following:

    "Regex": ".*"

    Code (HTML)

    The code parameter is where you will want to add your HTML code that should be injected into your page(s).

    If you want to add custom CSS you can use the following:

    "Code": ""
    

    If you want to add custom Javascript you can use the following:

    "Code": ""

    Final Code

    Your final code should look as follows when using the code injecting feature:

    "Code_Injecting": {
        "Enable_Injecting": true,
        "Code_Injecting_Items": [
          {
            "Regex": ".*",
            "Code": ""
          }
        ]
      },