Category: Klaviyo

Learn how to use Klaviyo

  • Send test notifications with Klaviyo

    Send test notifications with Klaviyo

    When using Klaviyo you might want to test your push notifications before sending them out.

    In this guide we will go through the process of finding your device in the list of profiles and then sending a test notification to it.

    The first step is to login to your Klaviyo account here: https://www.klaviyo.com/login

    Create a list for test users

    We will now create a list where we can add all test users, this will make it a lot easier for you to find users or event send campaigns out for testing purposes.

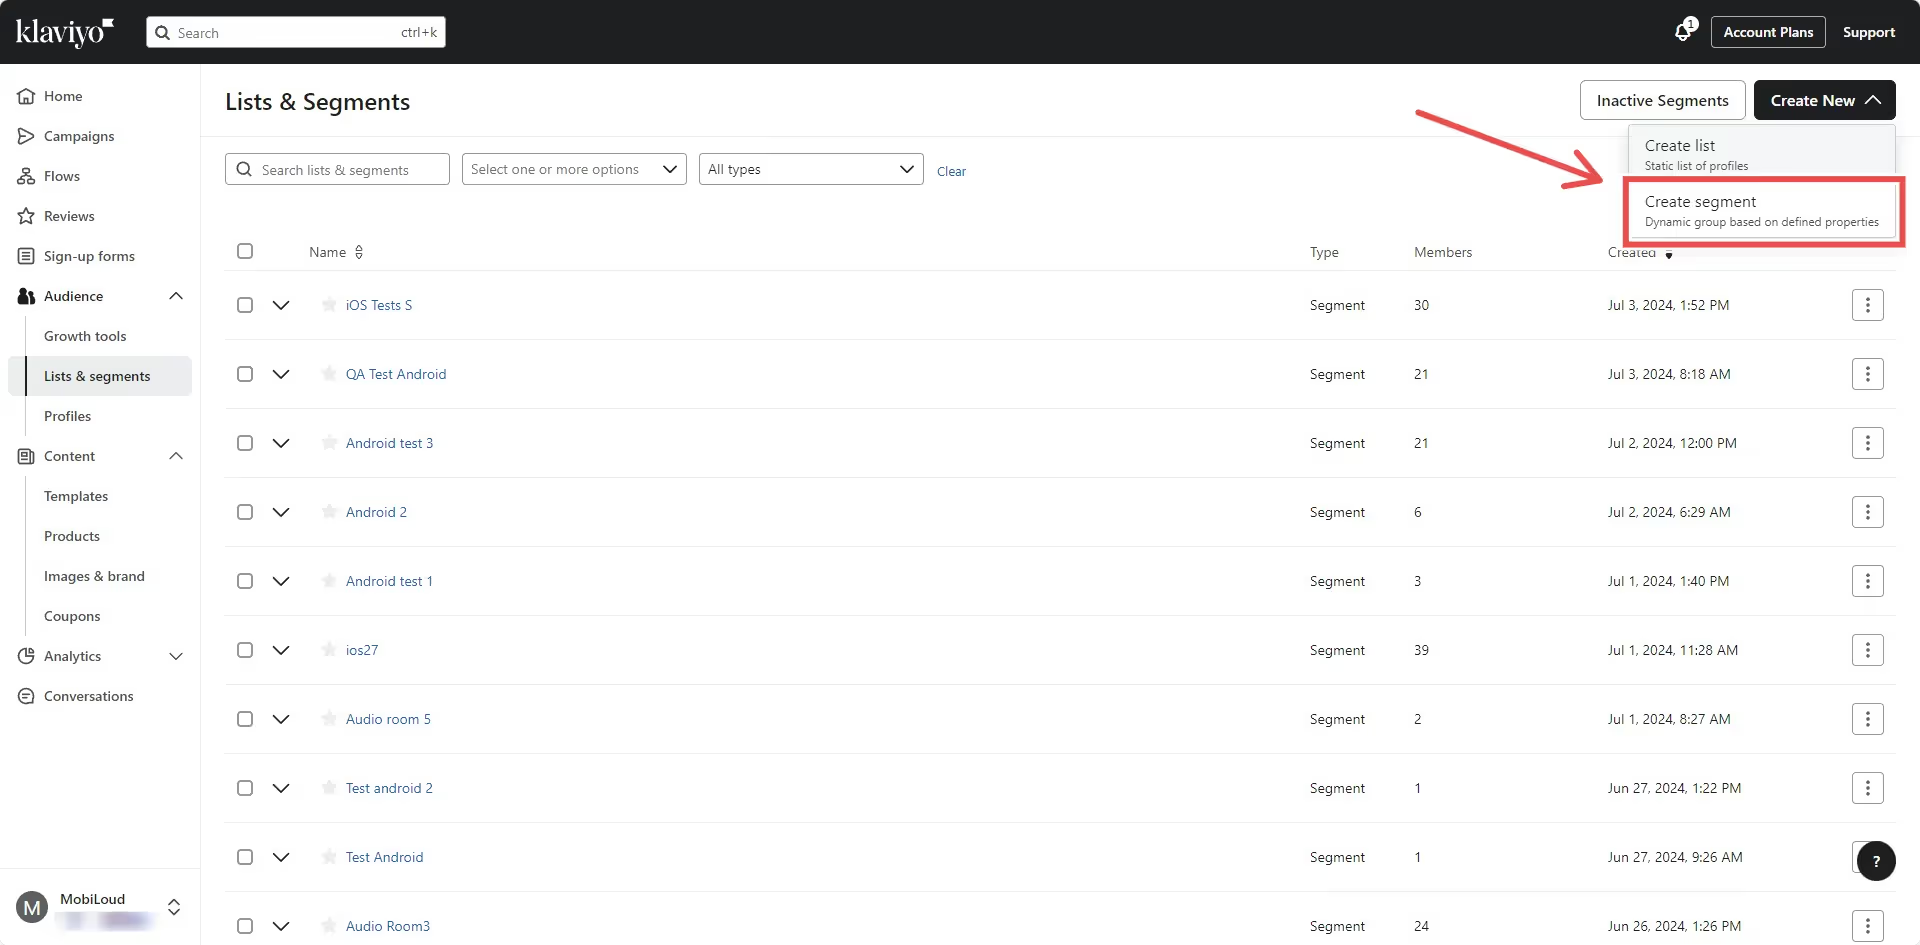
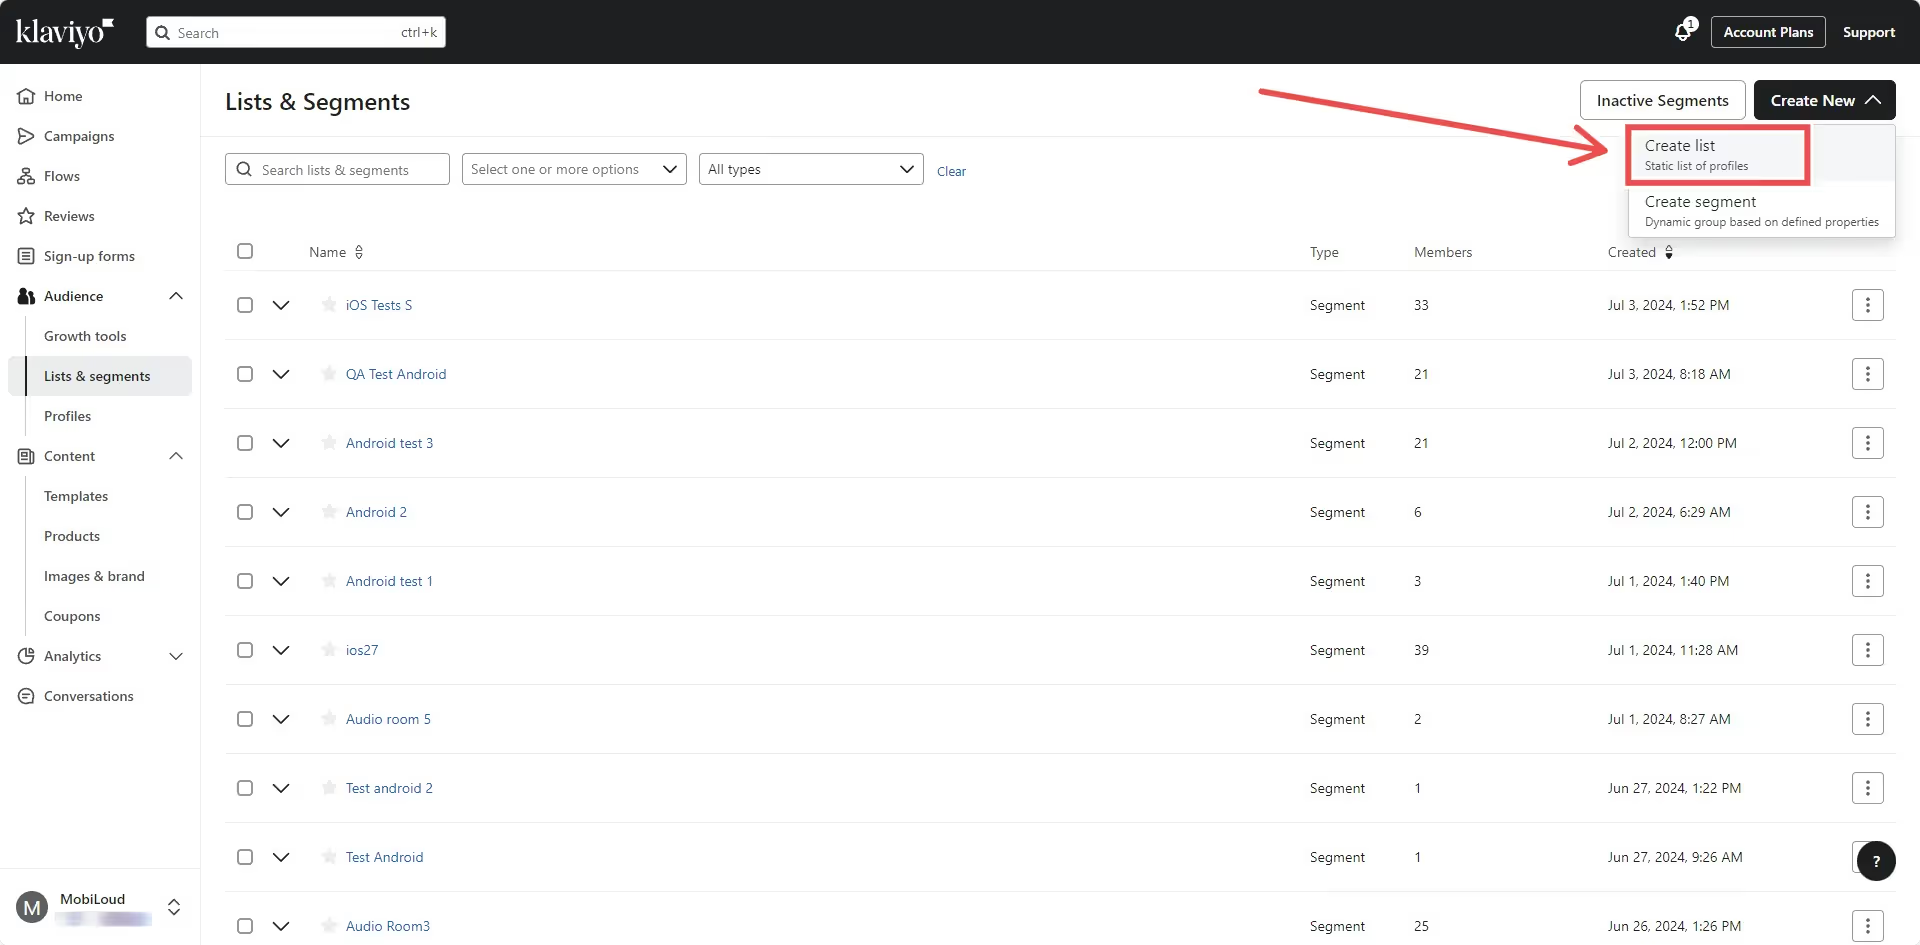
    On the left sidebar click “Lists & Segments”:

    On the top right area click “Create New”, then “Create list”:

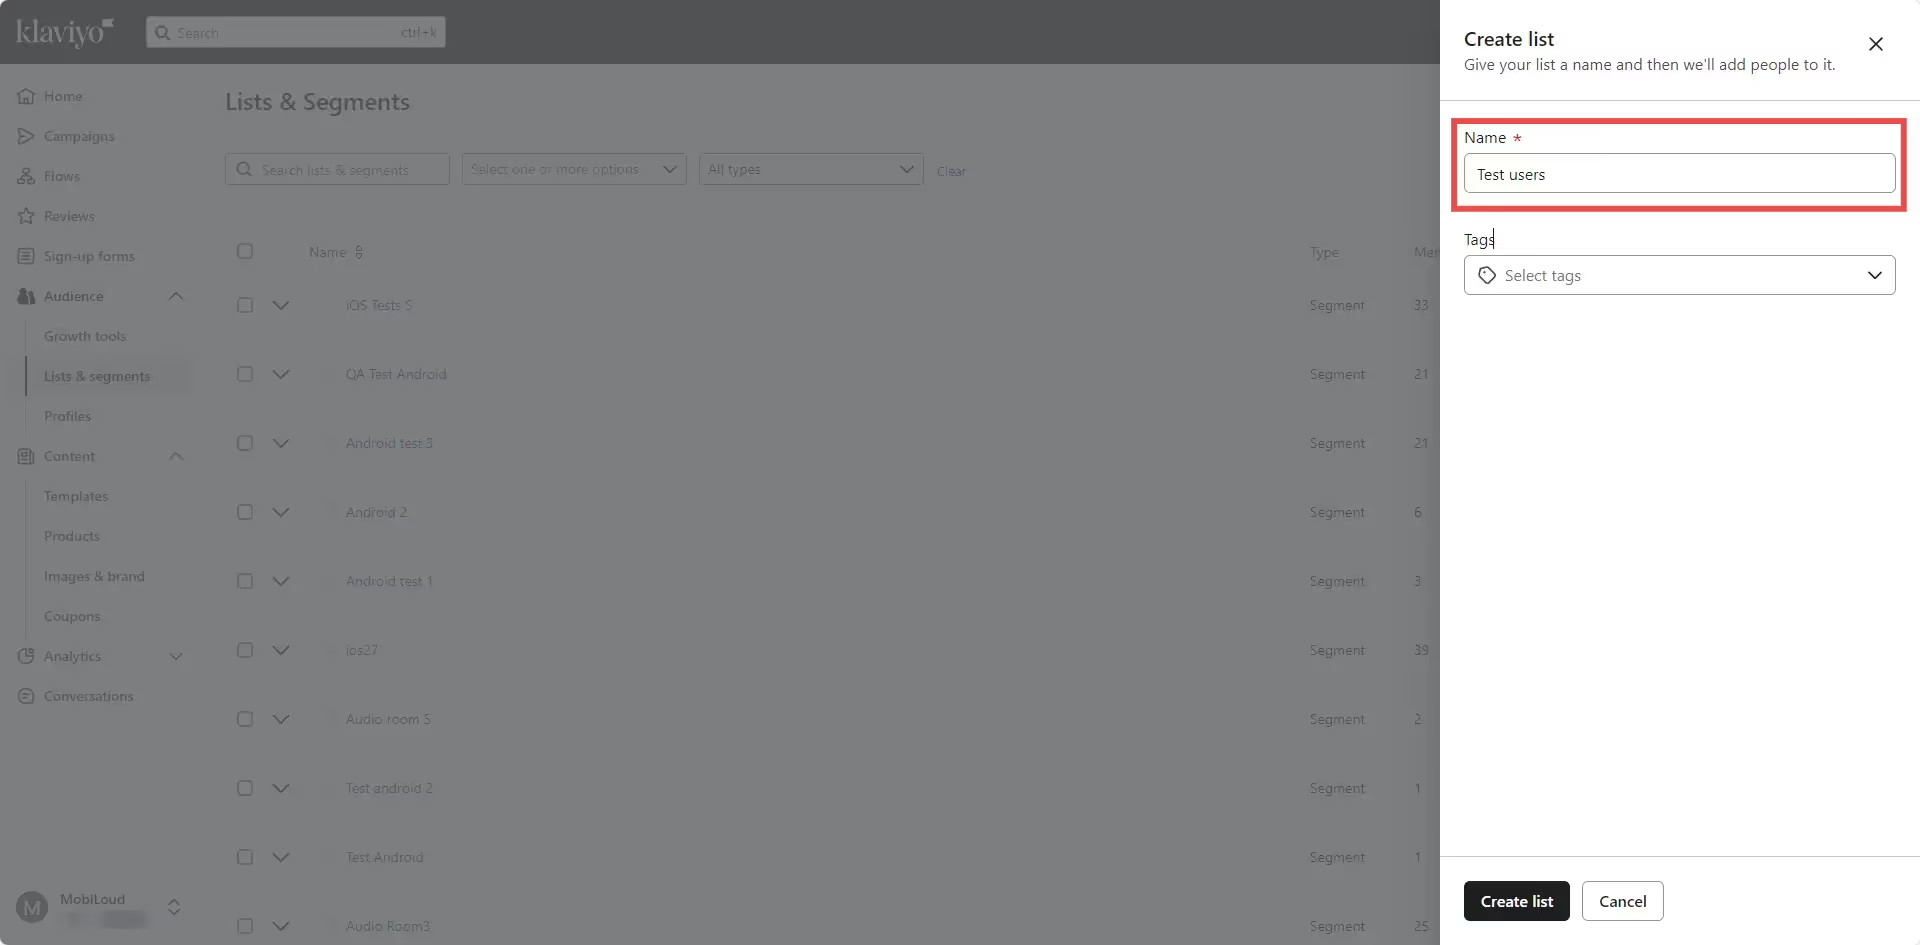
    Give your list a name like “Test users” and click “Create list”:

    Find your profile and add it to the list

    We will now proceed with finding your profile so we can copy its token and add it to the list.

    Go to “Profiles” on the left sidebar:

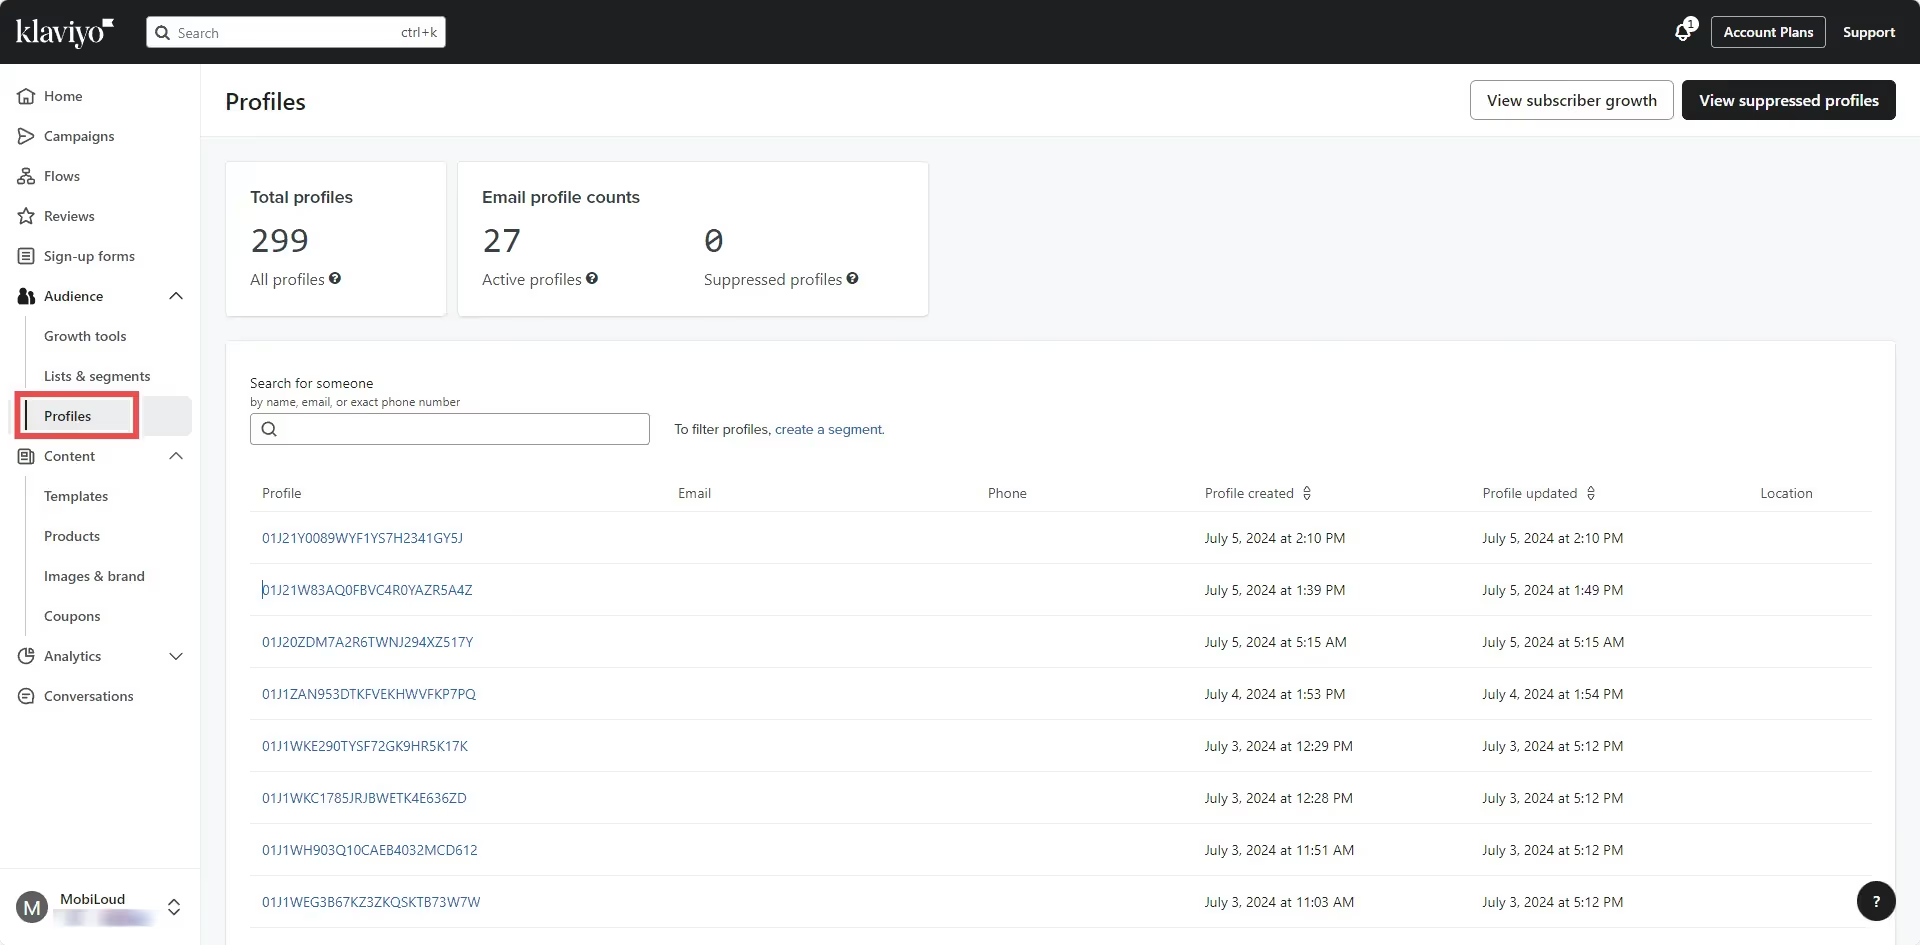
    You will see a list of all the profiles who have used the app recently. If you are not yet assigning emails or IDs to your profiles, you will need to find your profile using some logic.

    We’d suggest reinstalling the app, then refreshing the “Profiles” page and ordering the profiles by “Profile created” date, so you can easily find your profile between the first few that appear on screen:

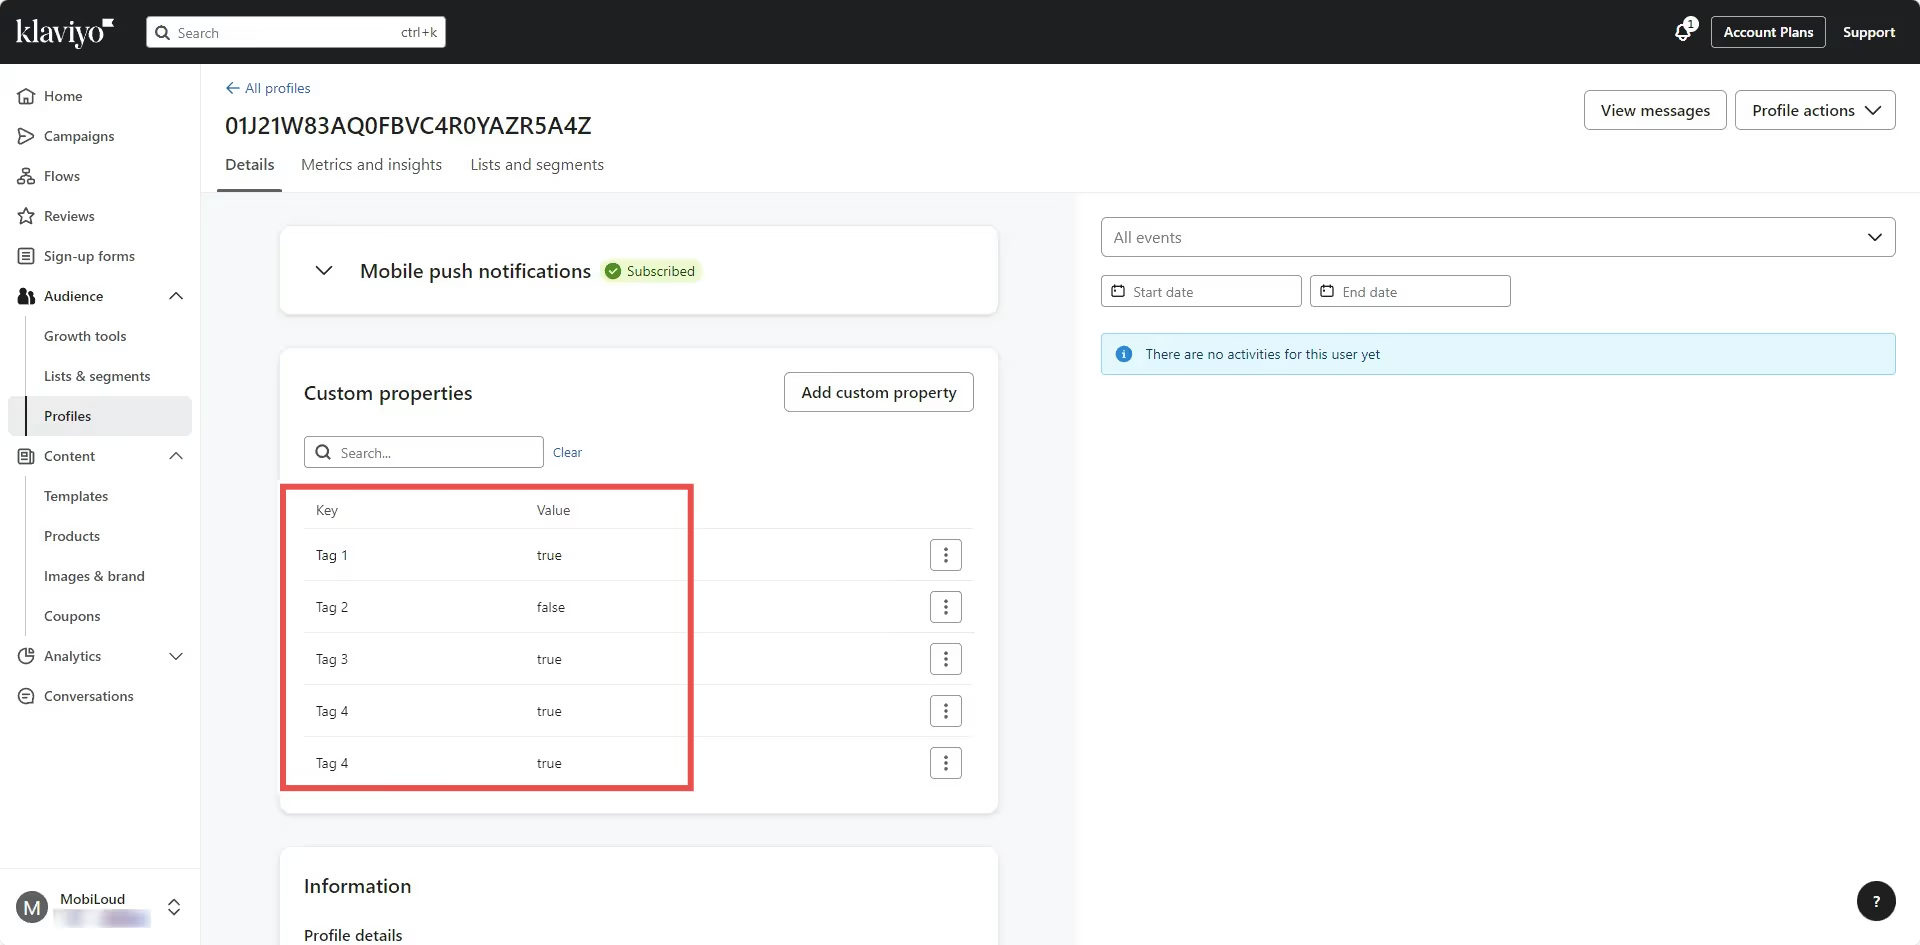
    Click the profile you think belongs to you and check the information on screen. You can look for matching operating system, attributes, timezone (if available):

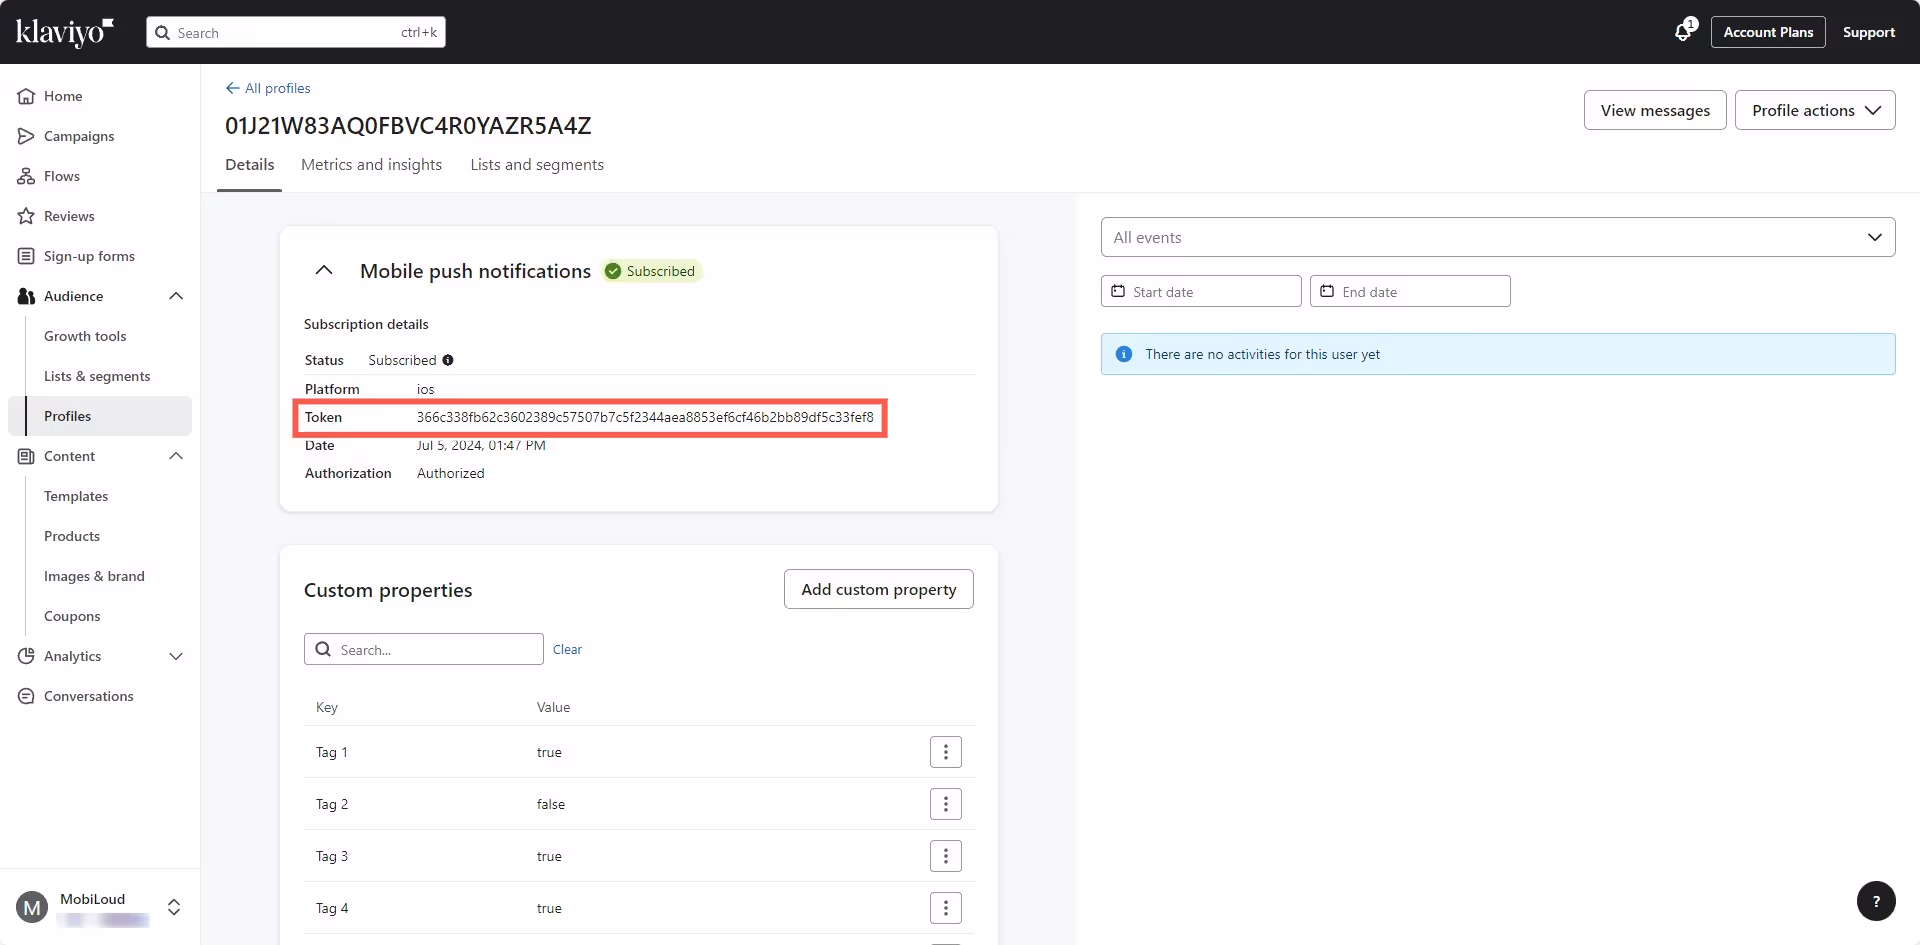
    Once you’ve found your profile, proceed with copying the “Token” that is displayed under the “Mobile push notifications” block:

    Now click on “Profile actions” on the top right area and “Add to list”:

    Select the “Test users” list you created and add the profile:

    Sending test notifications

    It is time to start sending the notifications.

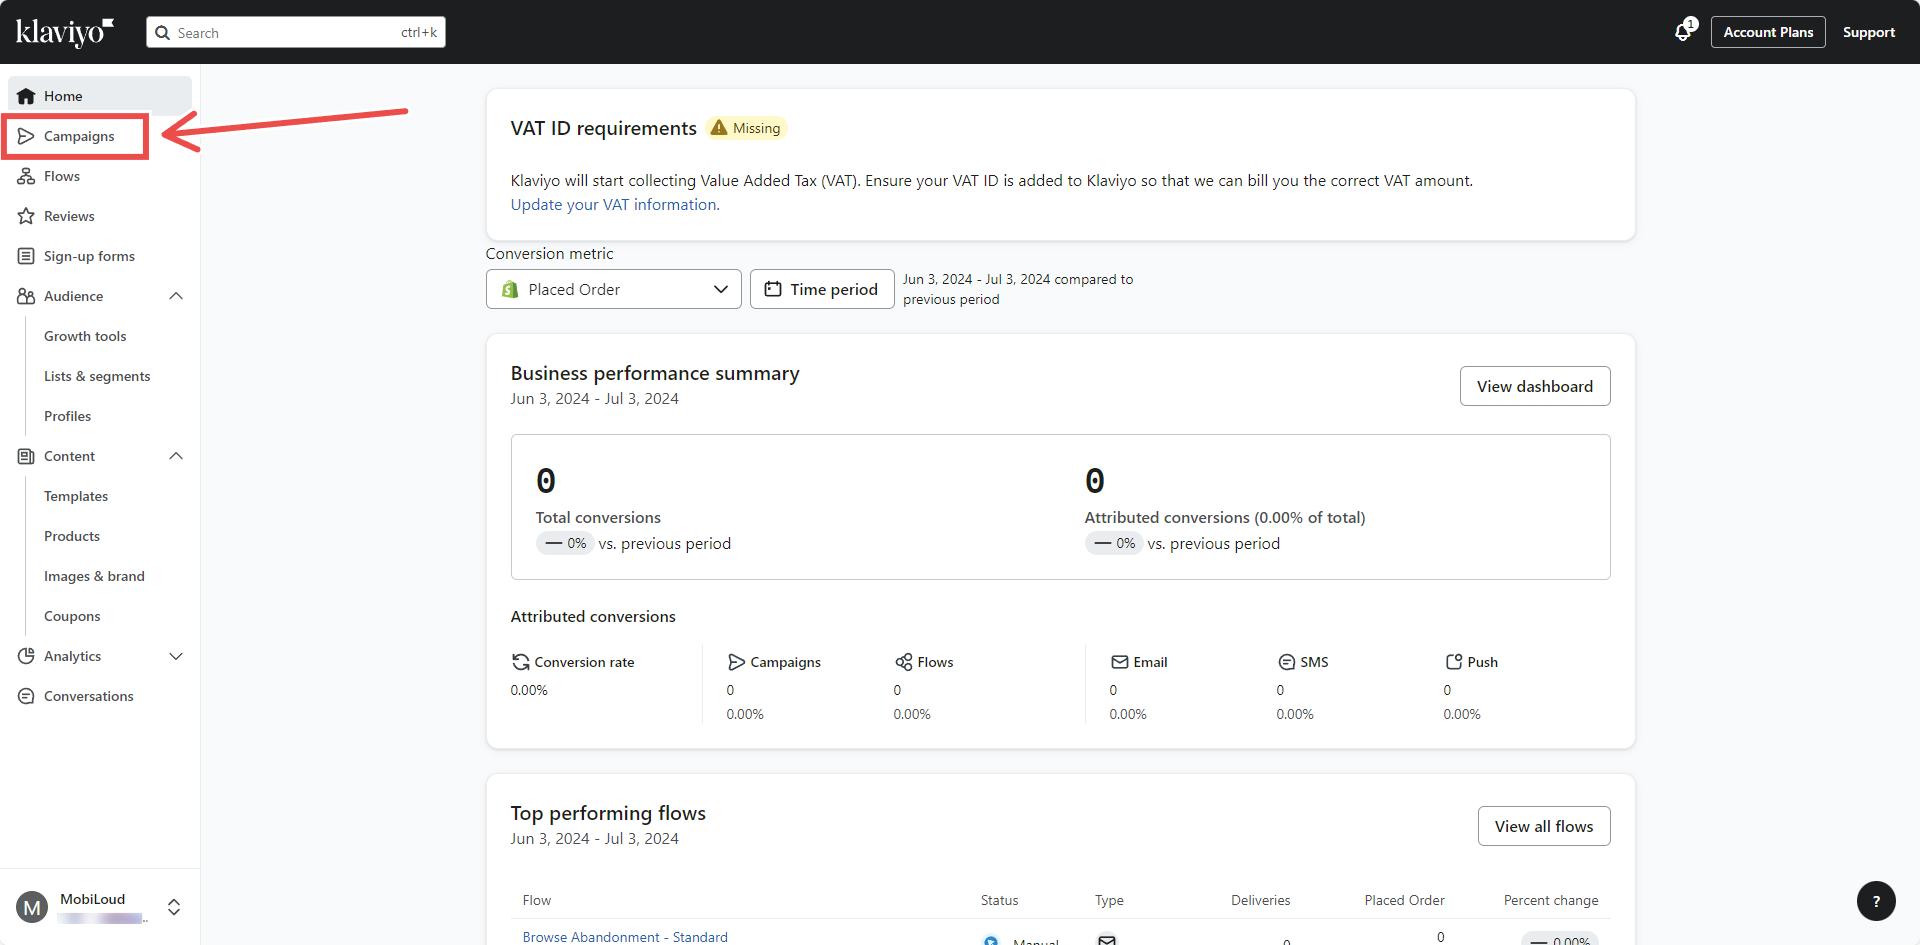
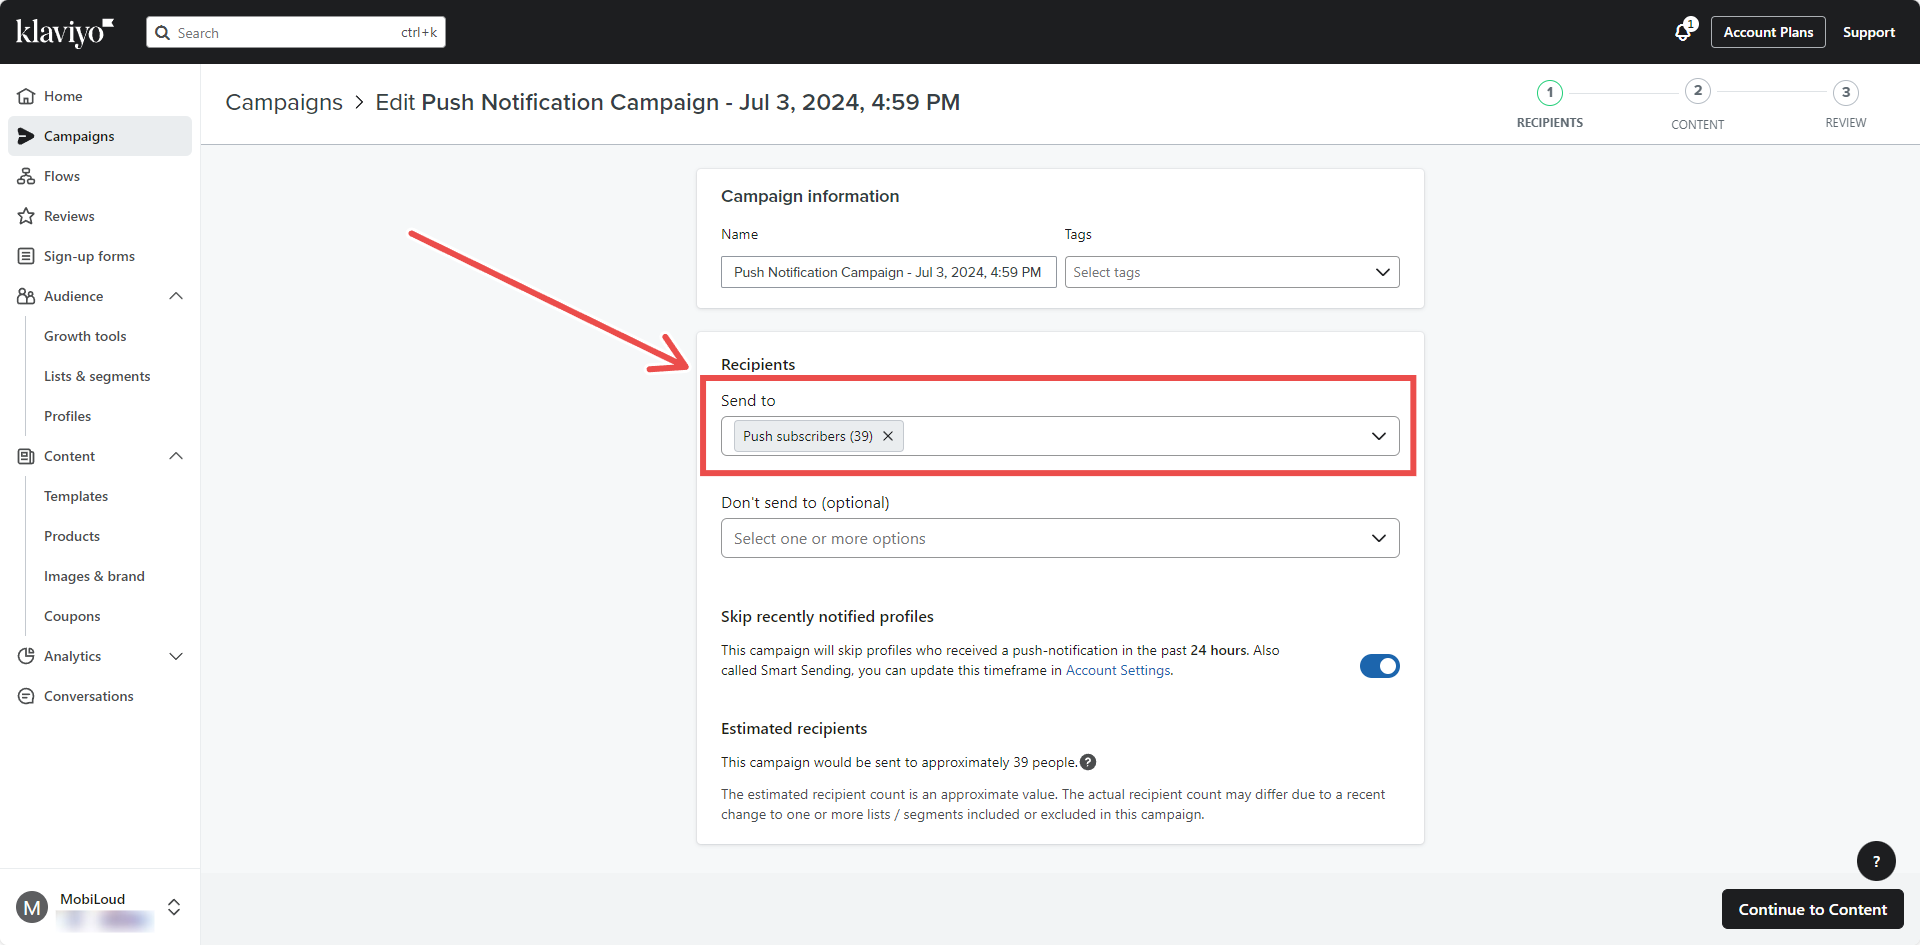
    Click “Campaigns” on the left sidebar and configure your notification as described in this guide: How to send push notifications with Klaviyo

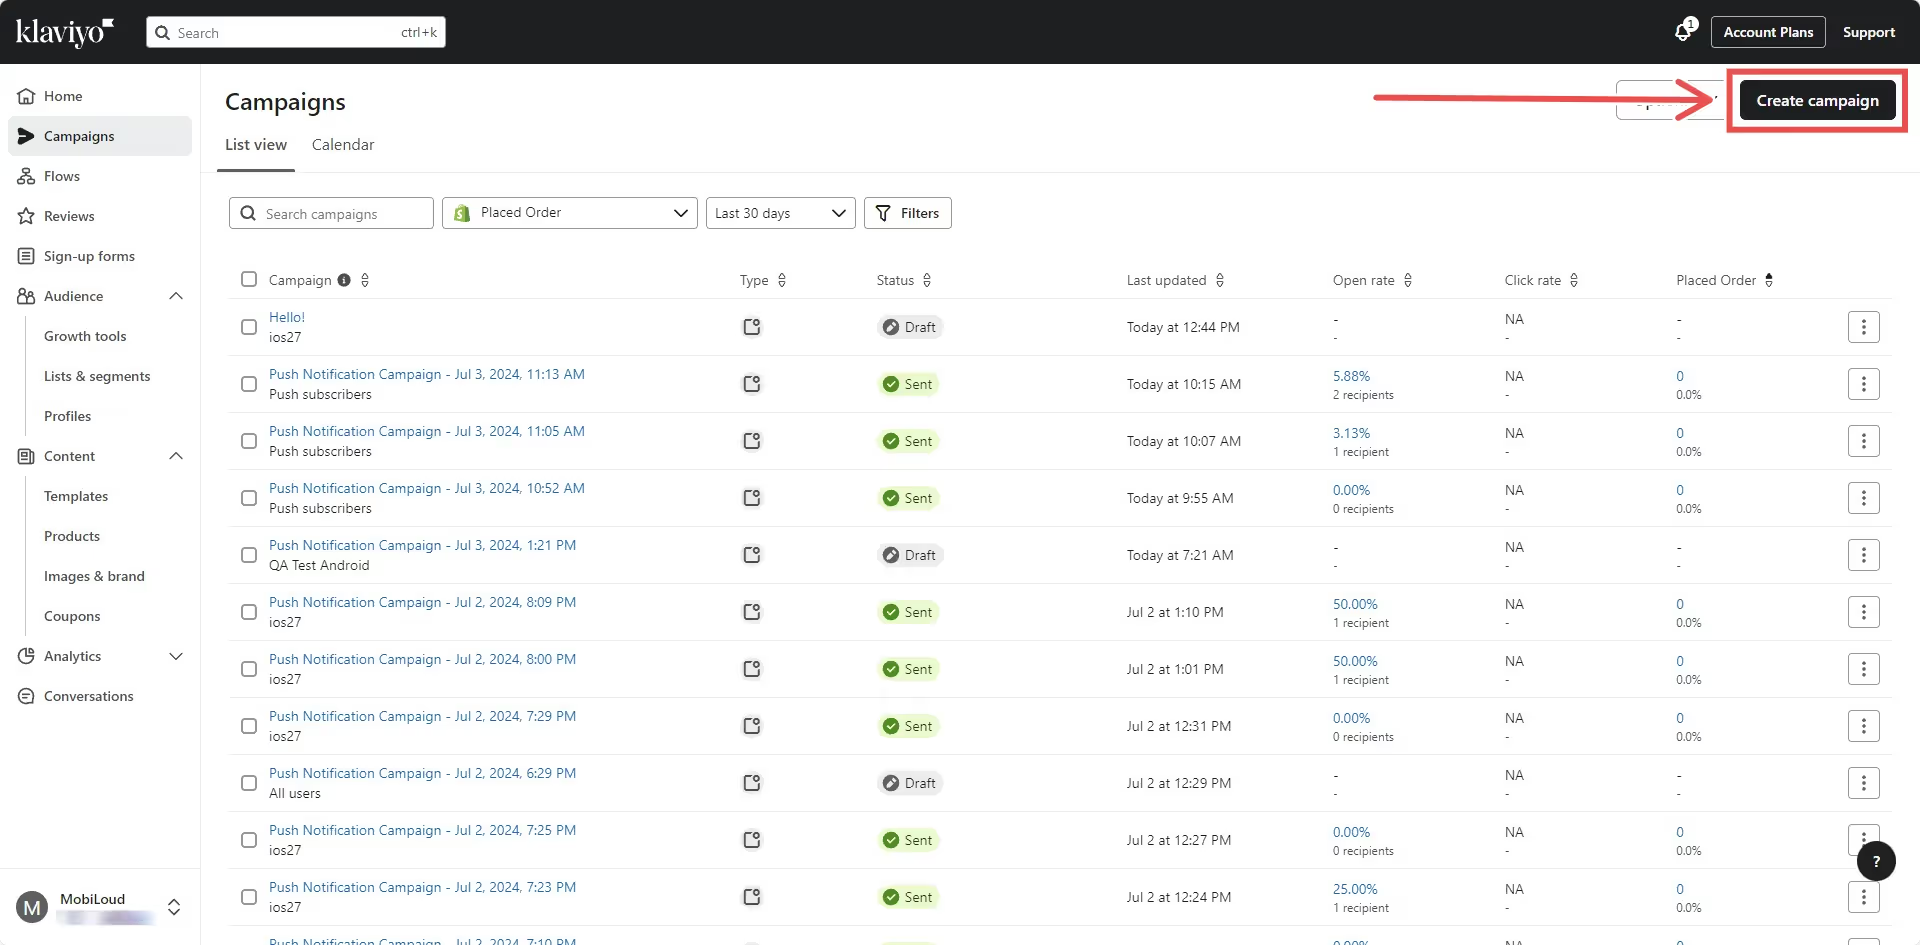
    Instead of sending the notification though, click on “Send preview” on the top right area:

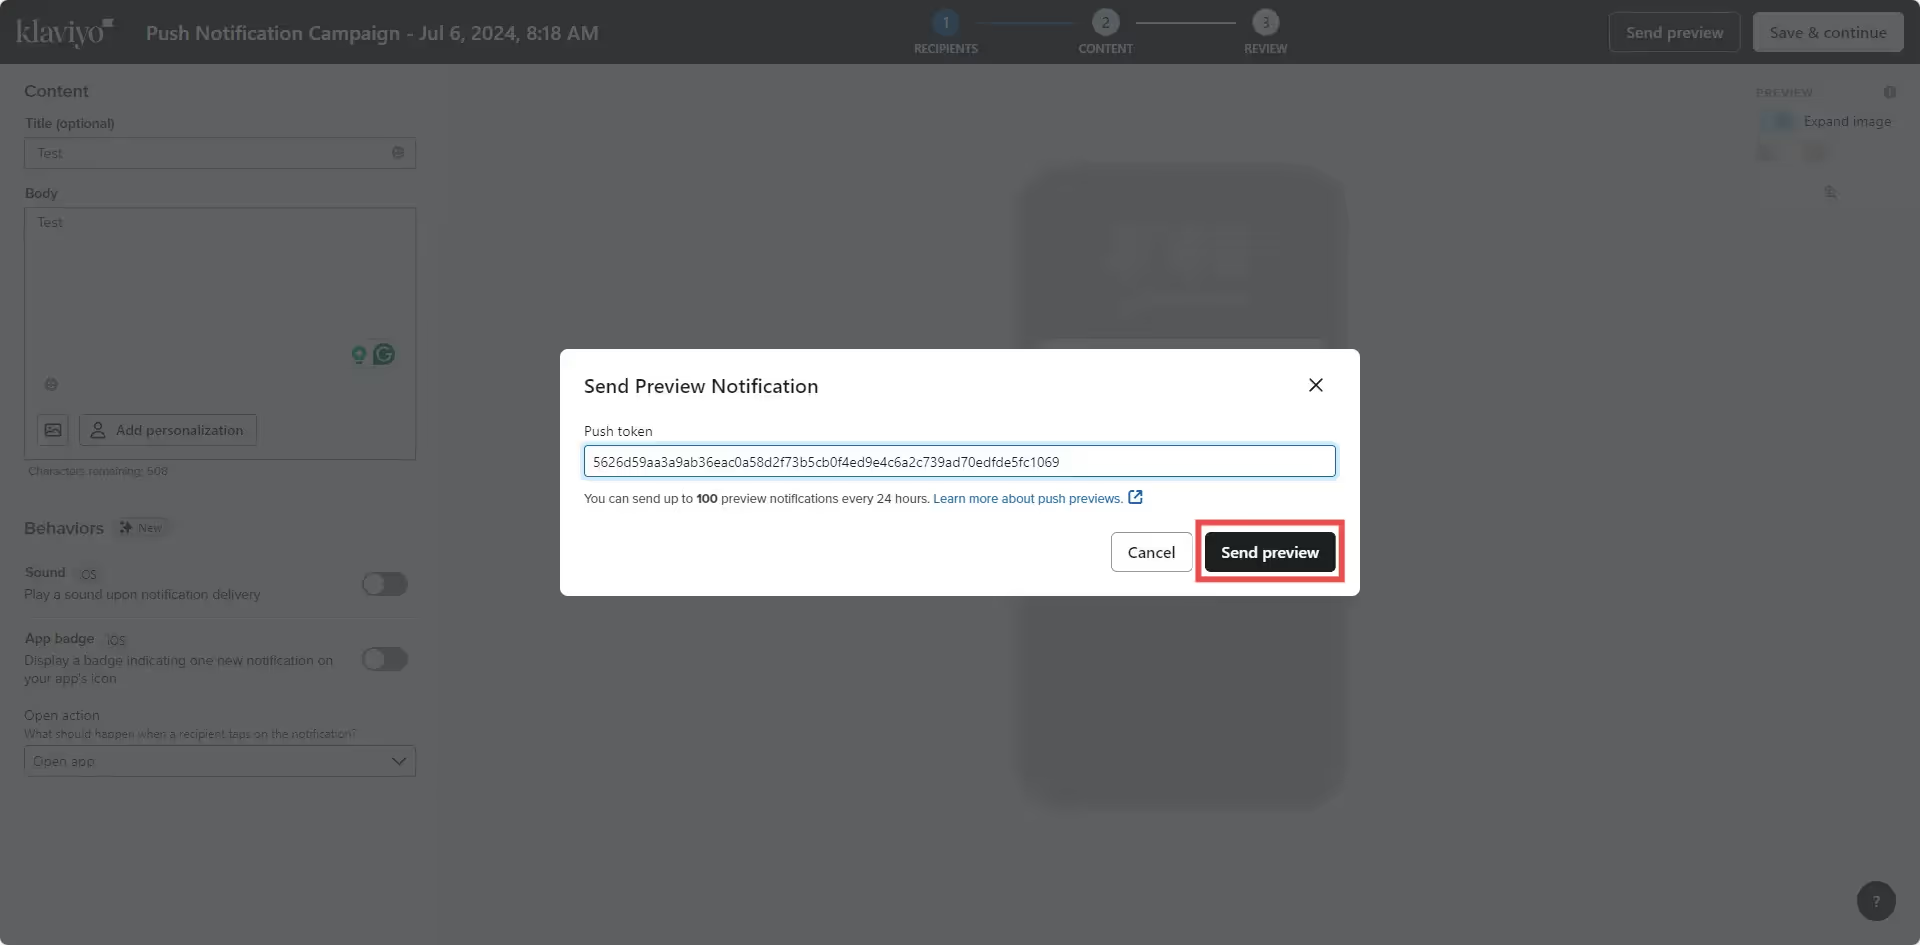
    You will then be asked to provide the profile token you previously copied:

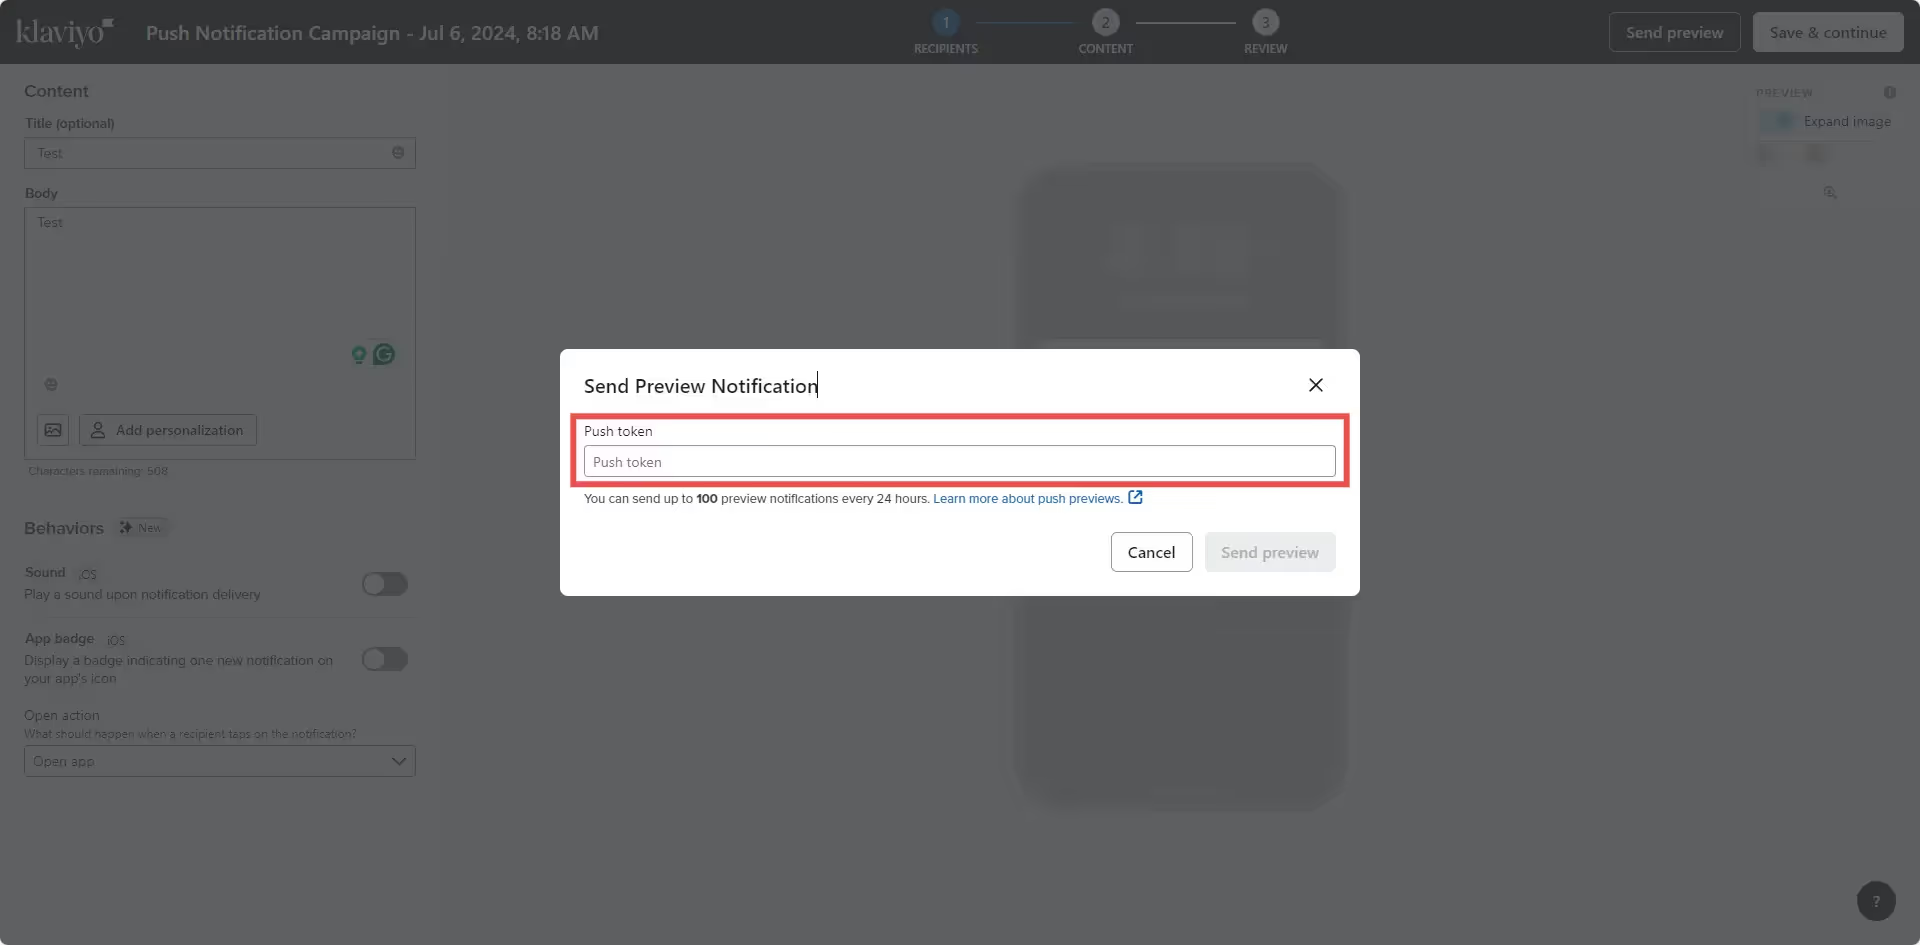
    Paste it in the field and then click “Send preview”:

    Done! Your test notification will be sent to your device and you should receive it almost immediately.

  • Merge Profiles | vendrux Docs

    The nativeFunctions.klaviyoMergeProfiles() function allows you to merge user profiles across mobile app and website platforms in Klaviyo. This function should only be called in Canvas-based environments.

    External User ID Usage

    // Check if the user agent contains 'canvas' (case-insensitive)
    if (navigator.userAgent.toLowerCase().includes('canvas')) {
      try {
        // Merge profile using external ID
        nativeFunctions.klaviyoMergeProfiles('user123', null)
      } catch (error) {
        // Handle any potential errors
        console.error('Profile merge failed:', error)
      }
    }

    Email Usage

    // Check if the user agent contains 'canvas' (case-insensitive)
    if (navigator.userAgent.toLowerCase().includes('canvas')) {
      try {
        // Merge profile using email
        nativeFunctions.klaviyoMergeProfiles(null, 'user@example.com')
      } catch (error) {
        // Handle any potential errors
        console.error('Profile merge failed:', error)
      }
    }

    Profile Merge Mechanism

    User Existence Verification

    The klaviyoMergeProfiles() function performs an internal check to determine the user’s existence in Klaviyo before initiating the merge process. This means:

    • The merge is only triggered if a matching user profile is found
    • If no existing user is detected, no merge action occurs
    • This ensures data integrity and prevents unnecessary profile modifications

    Post-Merge User Information Update

    After a successful profile merge, the app automatically updates the external user ID in the userInfo object. This process ensures:

    • The most recent and accurate user identification
    • Synchronization between the app’s internal user tracking and Klaviyo’s profile system
    • Consistent user data across different platforms and touchpoints

    More details can be found here: https://www.vendrux.com/docs/get-user-information

    Why the User Agent Check?

    • Ensures the function is only called in the intended Vendrux based environment
    • Prevents errors in non-supported platforms
    • Provides a safeguard against unintended function calls

    Function Signature

    nativeFunctions.klaviyoMergeProfiles(externalID, email)

    Parameters

    • externalID (Optional): A unique identifier for the user
    • email (Optional): The user’s email address

    Important Notes

    • You must provide at least one of the two parameters
    • Do not pass both externalID and email simultaneously
    • The function will only execute if the user agent contains “canvas”

    Best Practices

    • Always wrap nativeFunctions.klaviyoMergeProfiles() in a user agent check
    • Use toLowerCase() to ensure case-insensitive matching
    • Implement robust error handling
    • Log merge operations for tracking

    Potential Pitfalls to Avoid

    • Calling the function without a user agent check
    • Passing both parameters simultaneously
    • Ignoring potential merge errors

  • Klaviyo native functions | vendrux Docs

    Vendrux’s Klaviyo integration includes several native functions that allow you to manage user profiles and attributes with ease. In this guide you will find a list of available functions with examples and more details on how to use them.

    klaviyoSetExternalUserId

    This function sets a new external ID for a user profile and deactivates any old profiles associated with the previous external ID.

    Example:

    	nativeFunctions.klaviyoSetExternalUserId('12345')
    

    klaviyoSetEmail

    This function sets the email address for a user profile.

    Example:

    	nativeFunctions.klaviyoSetEmail('john@gmail.com')
    

    klaviyoSetPhoneNumber

    This function sets the phone number for a user profile.

    Example:

    	nativeFunctions.klaviyoSetPhoneNumber('+3059999999')
    

    klaviyoSendAttributes

    This function sets the specified attributes as true for a user profile.

    Example:

    	nativeFunctions.klaviyoSendAttributes(['tag_name'])
    

    klaviyolDeleteAttributes

    This function sets the specified attributes as false for a user profile.

    Example:

    	nativeFunctions.klaviyolDeleteAttributes(['tag_name'])
    

    klaviyoSetAttributes

    This function sets attributes with custom values for a user profile. Ensure you use JSON.stringify() to format the values correctly.

    Example:

    	nativeFunctions.klaviyoSetAttributes(JSON.stringify({'tag_name_1': false, 'tag_name_2': true}))
    
  • Integrate Klaviyo with your website

    There are many situations in which you will want to trigger push notifications to your users, here are some examples:

    • A private message has been received
    • An order has been delivered
    • A new file has been added to the account
    • A subscription is about to expire

    For all of these examples, the notification will need to target a specific user when a specific event happens on your website. In order to be able to send these notifications you will need the following implemented into your website’s code:

    • Vendrux native functions

    Keep in mind that this is not an implementation guide for the Klaviyo Open API, each server and website is different and will require a developer to find the best approach for integrating the Klaviyo Open API. The purpose of this guide is to give you a better understanding of how to integrate your website with the Vendrux platform for sending targeted, or transactional push notifications.

    Let’s go through each one of the requirements:

    Klaviyo Open API

    Since Vendrux uses Klaviyo for push notifications, you will need to use the Klaviyo REST API to trigger the notifications.

    Whenever a push notification is expected to be sent, you will need to make a call to the Klaviyo Open API with the notification details (title, text, link, image, tags, etc), this call must be implemented on your website.

    Here you can find the complete documentation for the Klaviyo REST API: https://developers.klaviyo.com/en/reference/api_overview#openapi-and-postman

    Vendrux native functions

    Implementing the Klaviyo Open API should be straightforward, but at some point, you will ask yourself “How do I target a specific user?”, and that’s where the Vendrux native functions come into play.

    On your website, you are probably using a unique ID or even an email to identify your users, but in Klaviyo that unique identifier is not available out of the box, so the idea here is to tell Klaviyo to store the same unique user ID from your website into the Klaviyo profile of that user.

    To do this, we are going to trigger the following Javascript function as soon as the user has logged in.

    We highly recommend using emails to identify users, so the user profile in Klaviyo automatically merges all the existing data for matching profiles.

    Here is an example of how that piece of code would look like:

        // Check the user agent for the "canvas" string
        const isApp = navigator.userAgent.toLowerCase().indexOf('canvas') > -1;
        
        // Check if we are in the app
        if (isApp) {
        
          try {
    
              // Set the user email
              let userEmail = "john@example.com";
    
              // Trigger the native function to save to Klaviyo
              nativeFunctions.klaviyoSetEmail(userEmail);
    
              // Log the event in the console
              console.log("Email has been set");
    
    
          } catch (ex) {
    
              console.log(ex.message);
    
          }
          
      	}
    

    Alternatively, if you prefer to use an ID instead, you can use the following version:

        // Check the user agent for the "canvas" string
        const isApp = navigator.userAgent.toLowerCase().indexOf('canvas') > -1;
        
        // Check if we are in the app
        if (isApp) {
        
          try {
    
              // Set the external ID
              let userExternalId = 1;
    
              // Trigger the native function to save to Klaviyo
              nativeFunctions.klaviyoSetExternalUserId(userExternalId);
    
              // Log the event in the console
              console.log("External ID has been set");
    
    
          } catch (ex) {
    
              console.log(ex.message);
    
          }
          
      	}
    

    For more details on how to target users using the External User ID and Emails, you can refer to the Klaviyo documentation here: https://help.klaviyo.com/hc/en-us/articles/115005247088

  • How to send push notifications with Klaviyo

    How to send push notifications with Klaviyo

    Sending push notifications with Klaviyo is easy, in this guide we will go through each step of the process.

    The first step is to login to your Klaviyo account, here: https://www.klaviyo.com/login

    In your account dashboard, click on “Campaigns” in the left sidebar:

    Click on “Create Campaign” on the top right area:

    Add a name for your campaign, select “Push” as the campaign type, and click “Continue”:

    Select a list or segment who should receive your notification and press “Continue to content”:

    Customize your notification title and content on the left sidebar:

    Click on “Behaviors” on the top left:

    Make sure “Open App” is selected as the “Open Action” for your notification then make sure that:

    1. “Show badge count” is enabled and set to “Add 1 to current count”
    2. “Play sound” is enabled

    Now enable the “Custom data” option, and two new fields will appear, fill them as follows:

    1. “Key” should be filled with “url”
    2. “Value” should be filled with the URL that should be opened when the notification is clicked

    Here is an example:

    This step is very important to make sure a specific URL opens when the notification is clicked.

    Make sure to use “url” all lower case for the “Key” field, otherwise this won’t work.

    Click on “Next” on the top right area:

    Make sure that all details are correct, and click “Schedule or send”:

    Select “Send now” to send the notification immediately:

    You are done! Note that even when using “Send now” Klaviyo might take a few minutes to deliver your notifications.

  • Create segments in Klaviyo | vendrux Docs

    Create segments in Klaviyo | vendrux Docs

    You will want to create segments in Klaviyo so you can send your push notifications to specific groups of users, or even to all users that are subscribed to receive push notifications.

    On your Klaviyo Dashboard, click on “Lists & Segments”:

    Select “Create new” on the top right area:

    Pick “Create segment” in the drop down:

    Give your segment a name and pick the following options for the definition:

    • Condition: If someone can or cannot receive marketing
    • Person: can receive /mobile push marketing

    That’s it! You can now select your custom segment when sending push notifications to target all push subscribers.

    IMPORTANT! Klaviyo can take some time to update the list of users in the segment once you create it.