How long does it take to launch a mobile app?
The honest answer: it depends. A simple utility app can be live in 8 weeks. A complex enterprise platform with ERP integrations, compliance requirements, and custom features can take over a year.
Or you could launch a note-taking app with a no-code tool in a couple of hours.
But “it depends” doesn’t help you plan a budget, set expectations with stakeholders, or decide whether to build before peak season. You need real numbers.
This article breaks down realistic timelines by app type, development approach, and complexity level. We’ll cover:
- General timelines for simple, moderate, and complex apps
- Specific timelines for ecommerce and enterprise apps
- A phase-by-phase breakdown of where the time actually goes
- Why most projects run late (and by how much)
- How to shorten your timeline without cutting corners
You’ll get everything you need to know to plan out your app launch timeline – and hopefully choose the most efficient way to go live.
For this article, we synthesized quoted timelines from hundreds of app development companies, combined with our own knowledge of the mobile app space from 10+ years and 2,000+ apps launched. Timelines are estimates – and are always fluid.
App Launch Timeline (By Complexity)
The single biggest factor in your timeline is how complex the app is. Here’s what the data shows across hundreds of projects:
Simple Apps: 2 to 4 Months
A simple app has limited functionality, minimal backend infrastructure, and few third-party integrations. Think: a basic catalog app, a single-purpose tool, or a content-delivery app with standard features.
What’s included at this level:
- User authentication (login/signup)
- Basic UI with a few screens
- Simple data storage
- One platform (iOS or Android, not both)
Adding a second platform typically extends the timeline by 30 to 40%, so a 3-month iOS app becomes a 4-month iOS + Android project if you’re building natively.
Moderate Apps: 4 to 9 Months
Most apps that businesses actually want to build fall here. You’re adding payment processing, user accounts with profiles, a real backend, and integrations with third-party services.
Typical features at this level:
- Payment gateways
- User-generated content or reviews
- Admin panel or CMS
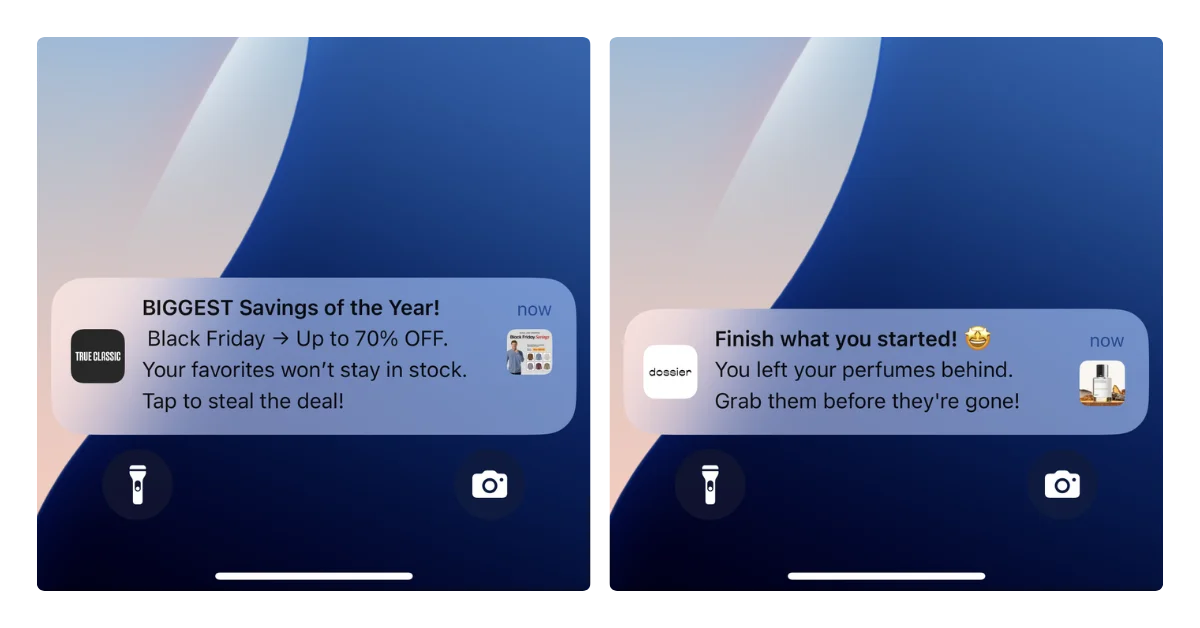
- Push notifications
- Analytics and tracking
- API integrations (shipping, CRM, etc.)
Each integration adds time. A single payment gateway takes 1 to 2 weeks to implement. A CRM connection can take longer if the API documentation is poor (and it often is).
Complex Apps: 9 to 18+ Months
This is where timelines start stretching into uncomfortable territory. Complex apps involve real-time data processing, AI/ML features, AR/VR, multiple complex integrations, or large-scale infrastructure built for millions of users.
At this level, the development itself isn’t the only bottleneck. Architecture decisions, security reviews, compliance audits, and stakeholder alignment consume significant time before a single line of code gets written.
Ecommerce App Development Timeline
Ecommerce apps deserve their own section because they’re what most brands reading this are thinking about. The timeline depends heavily on whether you’re building from scratch or extending an existing online store.
Building a Custom Ecommerce App
If you’re hiring a development team (agency or in-house) to build a native ecommerce app from the ground up, here’s what the timeline typically looks like:
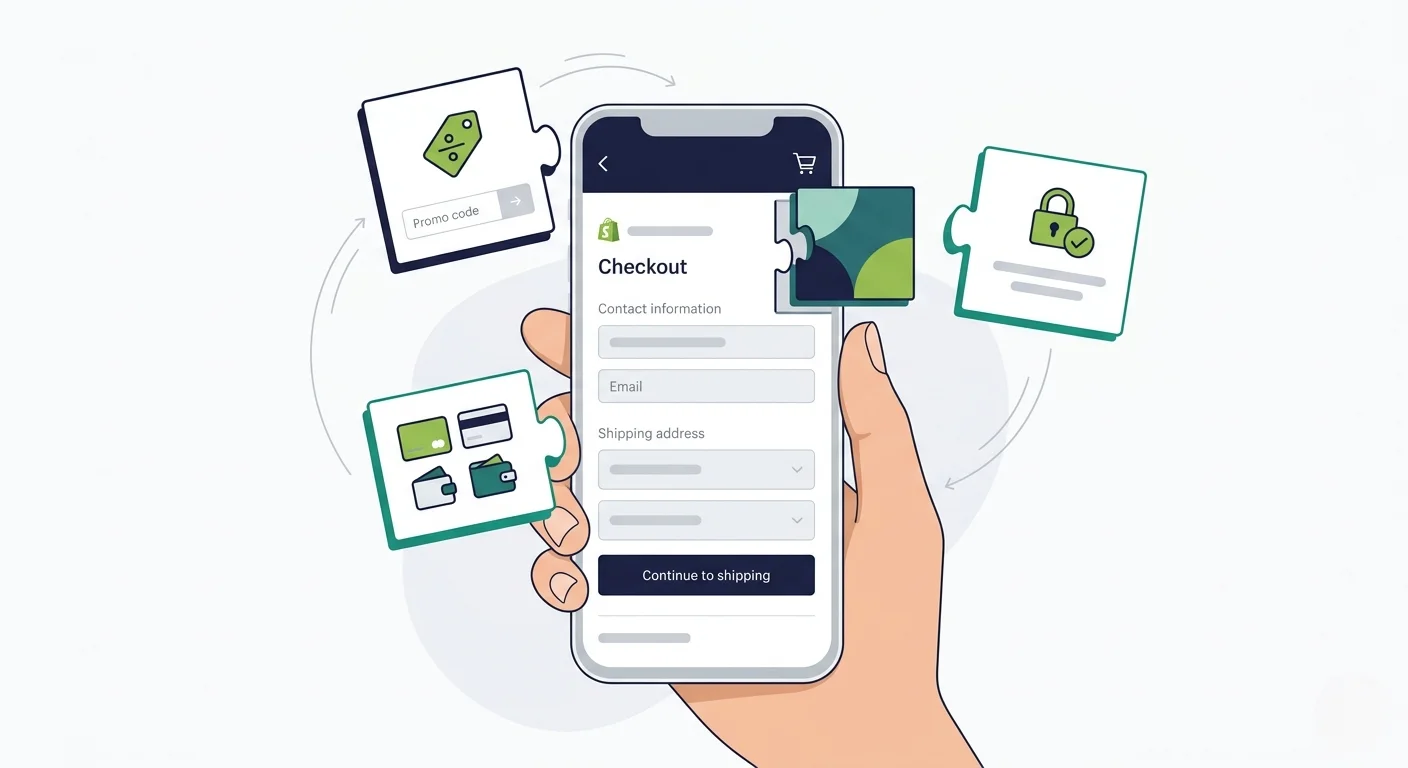
- Basic ecommerce app (product listings, cart, checkout, user accounts): 3 to 4 months
- Mid-level app (payment gateways, reviews, admin panel, shipping integrations): 5 to 6 months
- Advanced app (AI-powered recommendations, multilingual support, real-time tracking, analytics): 7 to 9 months
- Enterprise-grade app (ERP/CRM integration, dynamic pricing, multi-region compliance): 9 to 12+ months
The industry benchmark is roughly 1,200 development hours for a standard ecommerce app, which translates to about 15 weeks of pure coding. But coding is only part of the story: design, testing, integration work, and App Store review add weeks on top.
Extending a Shopify Store with a Mobile App
For Shopify merchants specifically, the timeline depends on the approach:
- No-code app builder (Tapcart, Shopney, etc.): Days to a few weeks
- Agency-built with customization: 4 to 8 weeks
- Custom-built native app using Shopify APIs: 8 to 24+ weeks
- Headless build (custom frontend, Shopify backend): 12 to 24 weeks
The more custom you go, the longer it takes. But there’s a tradeoff: highly customized apps can deliver unique experiences that off-the-shelf builders can’t match, while faster approaches let you start generating revenue from mobile sooner.
Enterprise Mobile App Launch Timeline
Enterprise apps are a different animal. The development itself is often not the longest phase; it’s everything around it.
Why Enterprise Takes Longer
Enterprise projects carry overhead that consumer apps don’t:
- Procurement and vendor selection: 4 to 12 weeks before development even starts
- Security and compliance reviews: SOC 2, GDPR, HIPAA, PCI-DSS (depending on industry) can add months
- Legacy system integrations: Connecting to SAP, Oracle, Salesforce, or custom ERPs is rarely straightforward
- Stakeholder alignment: More decision-makers means more review cycles
- QA and UAT: Enterprise testing standards are (rightly) more rigorous
Realistic Enterprise Timelines
- Simple internal tool (employee-facing, limited scope): 2 to 4 months
- Mid-complexity with integrations (customer-facing, connects to existing systems): 4 to 7 months
- Large-scale platform (multi-region, compliance-heavy, complex integrations): 12 to 18 months
The typical enterprise mobile app development cycle, according to Brainx Tech, breaks down like this:
- Requirements analysis: 2 to 3 weeks
- Design: 3 to 4 weeks
- Core development: 8 to 16 weeks
- Testing: 4 to 6 weeks
- Deployment and rollout: 2 to 3 weeks
That adds up to roughly 5 to 8 months for a mid-complexity project. But factor in procurement, compliance, and stakeholder approvals, and you’re often looking at 9 to 12 months from first conversation to live in the App Store.
Where the Time Actually Goes (Phase-by-Phase)
Understanding the full development lifecycle helps you see where time gets absorbed, and where it can be saved.
Discovery and Planning: 1 to 4 Weeks
This is where you define what you’re building. It includes market research, competitive analysis, feature prioritization, and technical architecture decisions. Skipping this phase doesn’t save time; it just shifts the cost into later rework.
UI/UX Design: 2 to 6 Weeks
Wireframes, mockups, user flows, and prototyping. For consumer-facing apps, this phase often takes longer than expected because design involves iteration and stakeholder feedback. Each round of revisions adds a week or more.
Development: 2 to 12 Months
The widest range, and the most variable. Your team size, tech stack, and architecture choices all affect this. Building for both iOS and Android simultaneously (whether natively or with a cross-platform framework like React Native or Flutter) typically takes 30 to 40% longer than building for a single platform.
Testing and QA: 2 to 6 Weeks
Unit testing, integration testing, performance testing, security testing, and user acceptance testing. Enterprise projects spend more time here (and should). A rushed QA phase is the fastest way to launch an app that gets one-star reviews.
App Store Submission and Review: 1 to 2 Weeks
Apple reviews 90% of submissions within 24 hours, but first-time submissions and major updates can take longer. Google Play typically reviews apps in 1 to 3 days.
We’ve been there many times (over 2,000, in fact). So we know it can be a drag, waiting for them to get back to you.
The real risk isn’t the review itself; it’s rejection. Apple rejected roughly 1.9 million submissions in 2024, about 25% of all apps reviewed. Each rejection-and-fix cycle adds days or weeks. Budget a 2-week buffer after QA to account for potential resubmissions.
Why Most App Projects Run Late
Here’s the uncomfortable truth: only 47% of IT projects are completed on time. Large projects (over $15M budget) run an average of 45% over budget, according to McKinsey research.
Mobile app projects are no exception. The most common causes:
Scope Creep
Scope creep affects 52% of projects, according to PMI. A “small” feature request mid-development can easily add 2 weeks. Across a 6-month project, cumulative scope changes can extend the timeline by 3 months or more.
The antidote: lock your MVP feature set before development begins. Build a feature wishlist for v2 and resist the temptation to pull features forward.
Integration Delays
Third-party integrations (payment gateways, shipping providers, CRMs, ERPs) are consistently underestimated. Poor API documentation, rate limits, authentication quirks, and sandboxing issues can add 3 to 6 weeks to a project.
Feedback Bottlenecks
When stakeholders take a week to review a design mockup that was supposed to be approved in 2 days, those delays compound across every sprint. This is especially common in enterprise projects with multiple approval layers.
The Practical Buffer
Experienced developers recommend adding 20 to 30% contingency to any app development timeline. If your estimate is 6 months, plan for 7 to 8. You’ll rarely regret padding the schedule; you’ll always regret not doing it.
How to Speed Up Your App Launch
Not every approach to building a mobile app requires months of custom development. The right strategy depends on what you’re building and why.
Start with an MVP
An MVP (minimum viable product) approach can reduce your timeline by 40 to 60%. Instead of building every feature before launch, ship core functionality first and iterate based on real user data.
For ecommerce, an MVP might include: product browsing, cart, checkout, user accounts, and push notifications. Save AI-powered recommendations, loyalty programs, and AR try-on for later releases.
Use Cross-Platform Frameworks
React Native and Flutter let you build for iOS and Android from a single codebase, saving roughly 30% of development time compared to building two native apps separately. The tradeoff is slightly less native feel in some edge cases, but for most ecommerce and content apps, the difference is negligible.
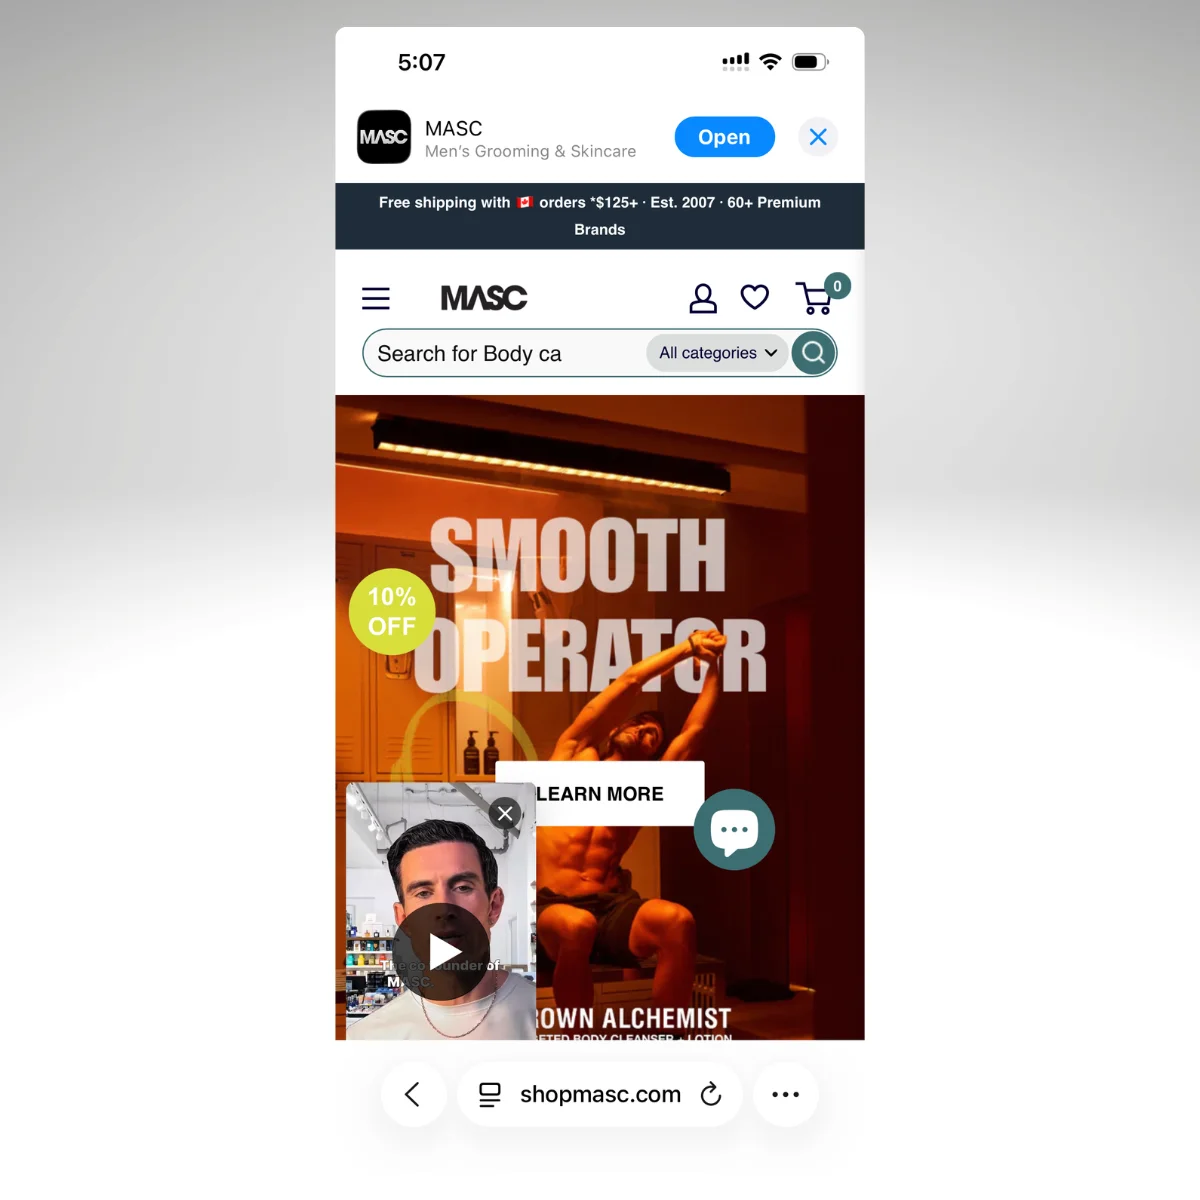
Skip the Build Entirely (and Turn Your Website Into an App)
If you already have an ecommerce website that works well, you may not need to build a mobile app from scratch at all.
Website-to-app platforms let you extend your existing website into a native iOS and Android app. Your site’s functionality, including checkout, search, loyalty programs, and every third-party integration, works from day one. There’s no re-integration, no feature parity gap, and no months of development.
Vendrux takes this approach. Instead of rebuilding your store as a separate mobile app, Vendrux turns your existing website into a native app with push notifications, a home screen icon, and App Store listings.

The timeline difference is significant: most brands go from first call to live in the App Store in around 6 weeks, compared to 4 to 9 months for a custom ecommerce app build.
In some cases, it can be even faster.
“No one believed we’d have an app in under a month, but within two weeks, it was done.”
– Ahmed Yousef, Director of Ecommerce at Pharmazone
This approach isn’t right for everyone. If you need a fundamentally different mobile experience from your website, a custom build makes sense. But if your website already delivers a strong ecommerce experience and you want to capture the retention and engagement benefits of a native app, rebuilding from scratch adds cost and delay without clear ROI.
Final Thoughts
The short answer: most mobile apps take 3 to 9 months from kickoff to launch. Simple apps land closer to 2 to 4 months, moderate builds run 4 to 9 months, and complex or enterprise projects can stretch to 18 months or longer.
But the development phase is only part of the picture. Discovery, design, testing, integrations, and App Store review all add up, and scope creep alone can extend a 6-month project by 3 months or more.
The best thing you can do is be honest about your complexity level, lock your MVP scope early, and pad your timeline by 20 to 30%.
If you’re an ecommerce brand with an existing website that already works well, consider whether you need to build from scratch at all. Vendrux compresses the process from months to weeks, letting you start capturing mobile revenue while competitors are still in sprint planning.


.webp)


.webp)
.webp)

